By Ed Malaker
Posted 09/15/2020
Let’s take a look at how to coil-split a Seymour Duncan SM3. Splitting a humbucker is a beginner-level modification that requires very few tools and only costs a few dollars. The Seymour Duncan SM3 is a mini-humbucker, but it has all of the same properties that a full-sized humbucker has, and you can split it in the same way.
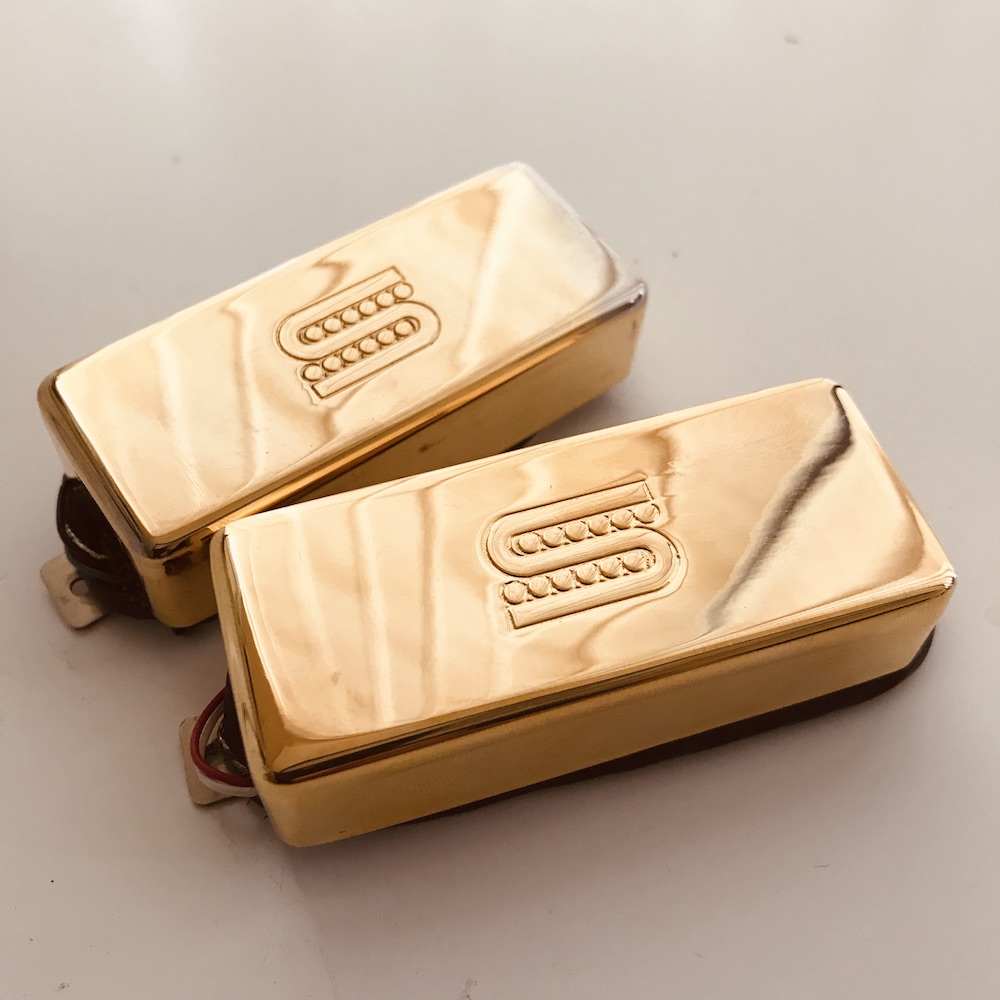
Seymour Duncan SM3
The Seymour Duncan SM3 is a mini-humbucker, available in bridge and neck versions. It uses a high-carbon steel blade and a bottom-loaded Alnico 5 magnet. These pickups deliver a clear tone with plenty of midrange. Chords sound clean and balanced, and the pickups work well with tube amps for nice-sounding overdrive without breaking up too early.
Before You Begin
We’ve already covered installing these pickups into your guitar, so if you need to set them up, we invite you to reference our pickup installation article. For this particular article, we assume that you already have the Seymour Duncan SM3 installed.
The Wiring Code
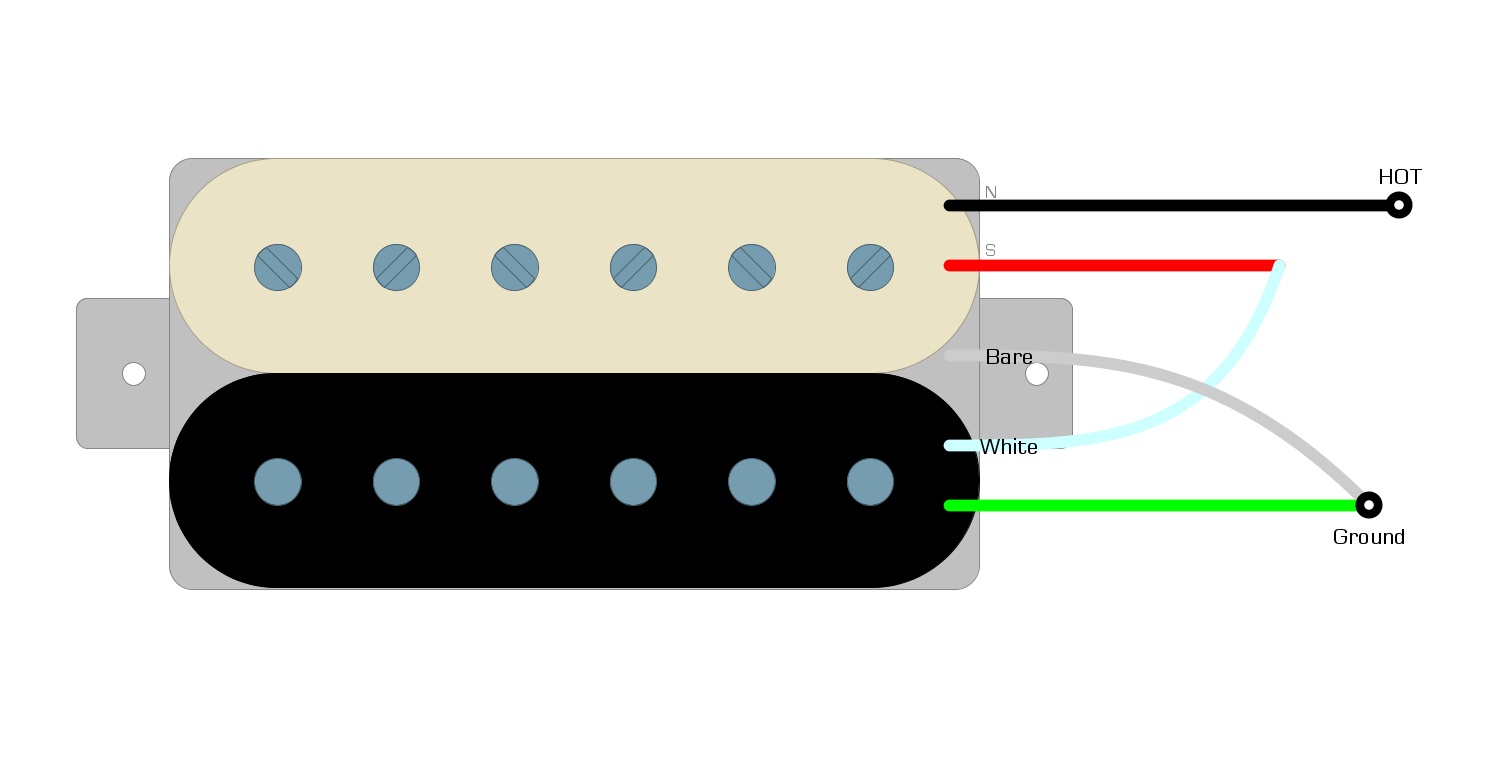
The Seymour Duncan SM3 uses the Black wire as the Hot, the Red and White, which are joined and taped off; the Green and Bare are joined and considered the Ground. We demonstrate this wiring code in Example 1.
Example 1
The Push-Pull Pot
The push-pull pot is our recommended method for Seymour Duncan SM3 coil-splitting. The push-pull pot is a direct replacement for a standard pot, but it has a built-in switch that you can use to split the pickup.
You can also use a mini-toggle switch to split the pickup, but this would require you to make a permanent hole in the pickguard or in the body of the guitar. If you decide to use a toggle switch, you can use the same wiring diagram that we supply for the push-pull pot. The wiring will be the same in both cases.
Coil-Splitting
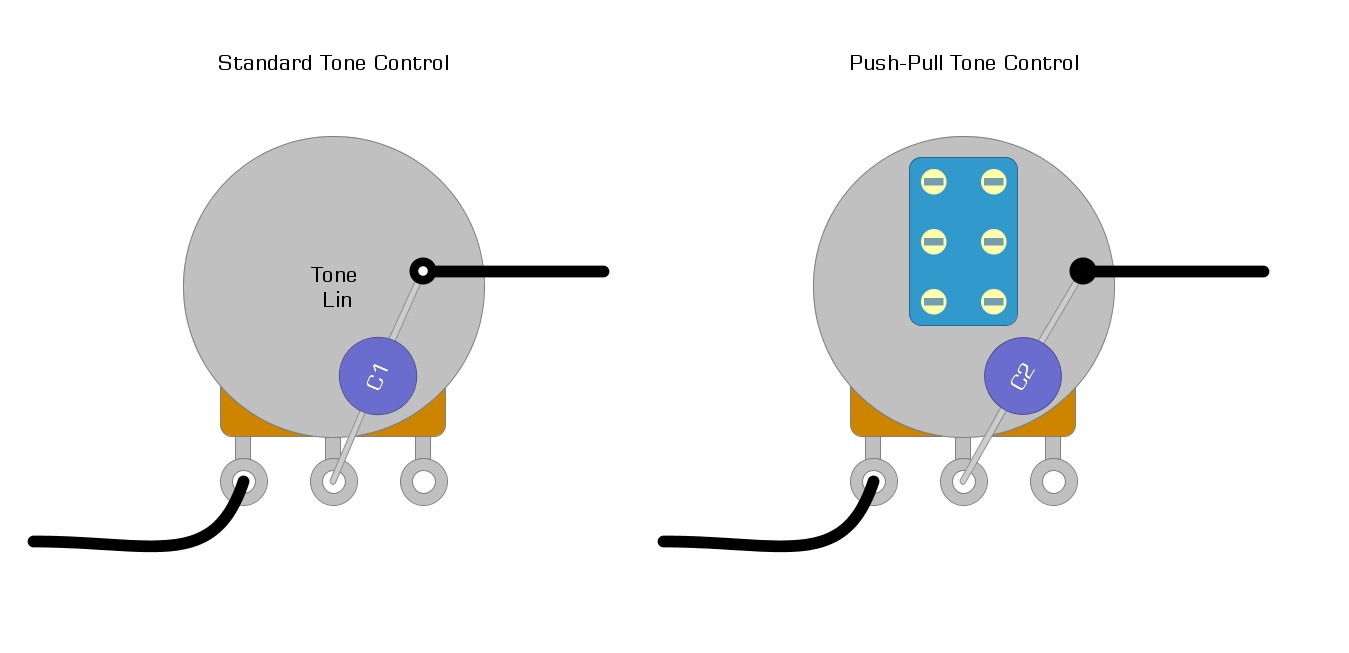
Splitting the pickup is very easy. You only need to change the standard pot to the push-pull type. The lugs will line up the same on both types. Many people like to convert the volume pot, but often, there are a lot of ground wires connected to the casing of the volume that may be hard to attach to a push-pull volume. For our Seymour Duncan SM3 coil-splitting modification, it will be easier to convert the tone control. We use the tone control in Example 2, to demonstrate converting the standard pot to a push-pull pot.
Example 2
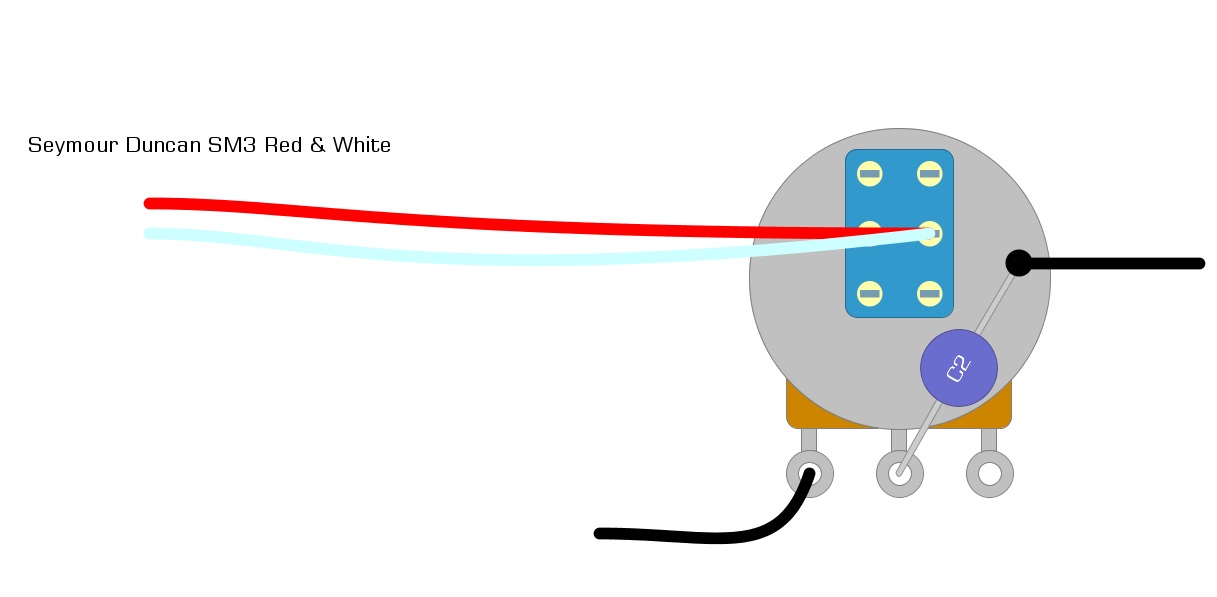
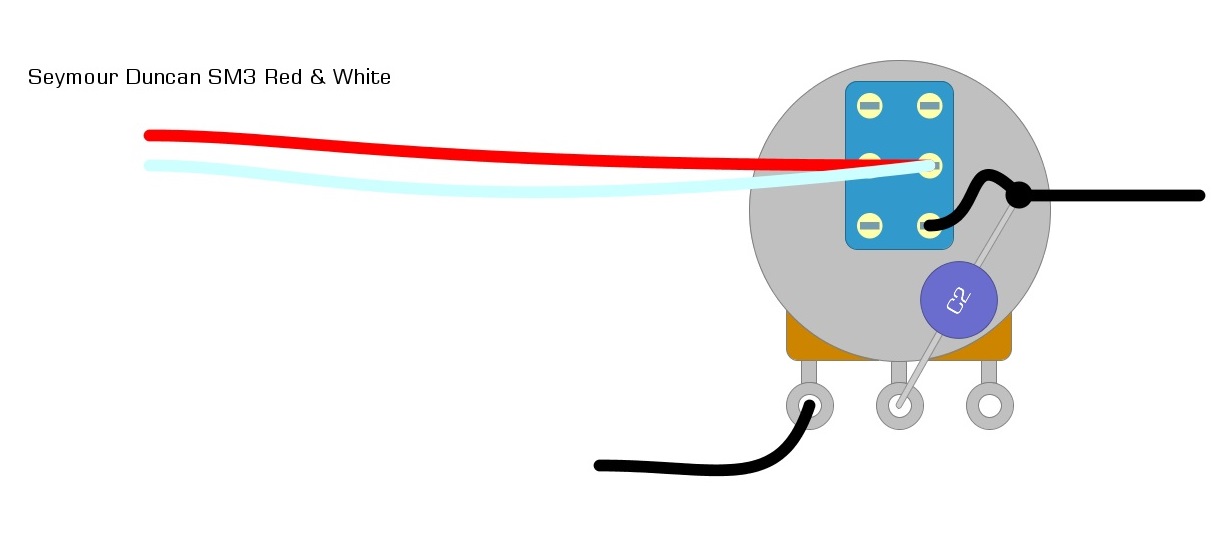
Once you have your push-pull pot installed, you will need the red and white wires from the pickup. Remove the tape and solder both wires to the switch part of the push-pull pot, as we see in Example 3.
Example 3
Next, install a ground wire from the switch to the back of the pot, as we see in Example 4.
Example 4
With the ground wire installed, the modification is complete.
Summary
This modification works by shorting out the second coil in a humbucker pickup. The red is the end of one coil, and the white is the beginning of the next. When you pull out the push-pull tone control, it creates a path between these two wires and Ground, giving you a sound that’s similar to a single-coil pickup.
We highly recommend trying out this Seymour Duncan SM3 coil-splitting modification on your guitar. It’s a great way to gain experience with modifications as well as with soldering. It also helps you learn about the different components and options available for your guitar.
We hope that you’ve enjoyed reading this guide and have learned something new. If you’ve found it helpful, please feel free to share it on Facebook and Twitter. For more articles on guitar electronics, visit humbuckersoup.com.


