By Ed Malaker
Posted 03/20/2019
Welcome to Part 3, on how guitar pickups work and how you can build your own. In the last article, we discussed the way the magnets and coils work, and the way they work together to create the sound that you hear. This time around, we’re going to look at the tools, pickup parts, and other things that you will need to build your project from scratch.
You will need surprisingly few tools to build your pickups, and what you do need will not be very expensive or they will last for several pickups. What you need, exactly, depends on whether you will purchase the individual parts that create the bobbin as a kit, or if you intend to build them yourself.
Voltmeter/Multimeter
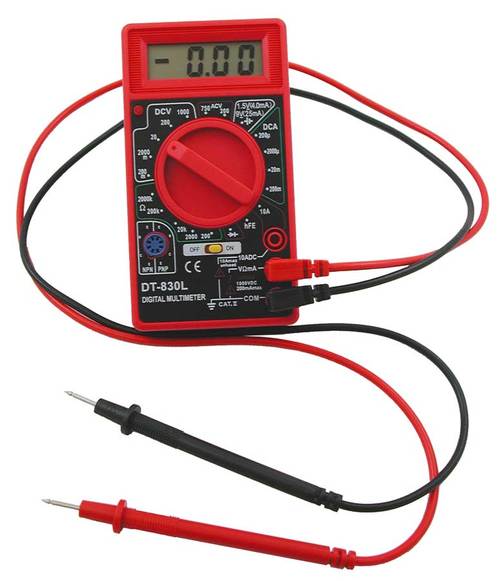
The first item that you will need is called a Digital Voltmeter, also known as a Multimeter. This device can be purchased (usually for less than $15) at any hardware store. Harbor Freight often offers a deal on these devices if you sign up for their newsletter and they have several models in stock.
A voltmeter is a very important testing device that you will need for many more reasons than building guitar pickups. It’s basically a box with two leads (a red and a black) coming out of it, a rotary knob to select what you want to test for, and a digital display. You can use these leads to test AC and DC voltage, DC amps, resistors, diodes, and more. Some can even test capacitors and transistors. This tool will be invaluable for testing your work and diagnosing problems in many situations, but you will not need the most expensive model; the simplest version will do just fine.
We will use the voltmeter to see if the pickup works, what the DC Resistance is, what the Output mV is, and what the polarity is (regular wound or reverse wound) (Fig 1).
Fig 1
Soldering Iron
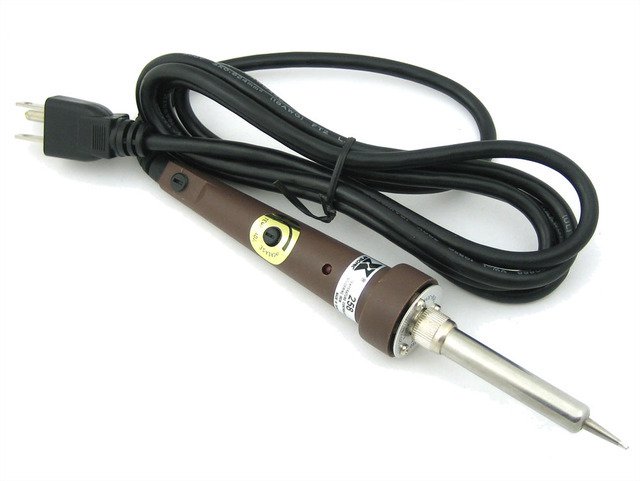
The soldering iron is probably the most important tool that you will use in your “guitar garage.” We will need it to build our pickups and for pretty much every repair that we will ever need to do. You’ll need it for fixing jacks, switches, knobs, and cables.
You ALWAYS want to use a soldering iron and you NEVER want to use a soldering gun. A soldering gun is the kind with the trigger. These devices use a transformer in their construction and its operation can ruin the magnets in your pickups very quickly.
The best soldering iron will have a good, solid construction and have a power rating of no more than 60 watts, with 40 watts being ideal for almost every situation. Guitar parts are small, and some of the parts are somewhat flimsy, especially the super thin wire that we will be using in our pickup coils, or the transistors in a “do-it-yourself” foot pedal or amp. Anything over 60 watts will be too hot for our needs. Variable temperature control is nice to have, and it allows for more flexibility (Fig 2).
Fig 2
Solder
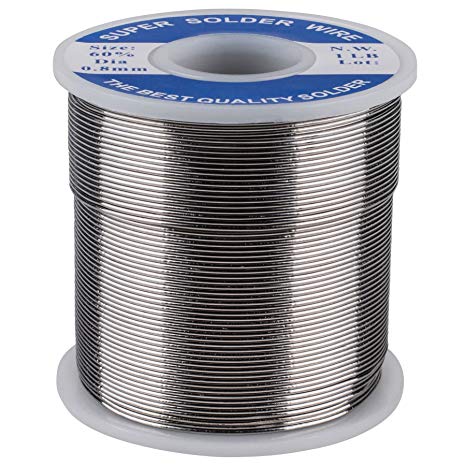
The next item that you will need goes hand-in-hand with the soldering iron, and that is the solder that we use to hold the pickup parts together. Solder comes in spools of various sizes and qualities. The best kind to use is a 60/40 rosin core solder. What this means is that the solder is 60% Tin and 40% Lead. The rosin core helps the solder stick to the metals and form a stronger bond. Solder is going through a big modern-day change because the health hazards of lead are pushing for a lead-free content. There are several types of lead-free solder available, and the quality is on the rise, so this might be something that you want to look into, especially if you work in a space with low ventilation, or you do excessive amounts of soldering. Just make sure that the type you get is created to be comparable to a 60/40 solder.
Whichever type of solder you end up buying, leaded or unleaded, you will want to make sure that it is a good quality, because a poorly made solder will not melt evenly or hold connections securely. This can ruin your projects and can also cause your projects to fail down the road. A brand new roll of solder will last a very long time, for even daily do-it-yourselfers, so don’t skimp here. You will be glad that you didn’t (Fig 3).
Fig 3
As mentioned earlier, you will need a soldering gun, solder, and a digital multimeter for practically every project that you will ever do with a guitar. Everything from output jacks to foot pedals will require these tools so you will want to have your own set and you will want to take the time to learn how to use them properly. Proper soldering can take some time to master, so you will want to practice and be patient.
Miscellaneous Tools
Besides the tools we have mentioned, you will likely need various screwdrivers (flathead and Phillips head), pliers (to include needle-nose), wire cutters, a set of Allen (hex) wrenches, and so on. If you are going to be designing homemade pickups, using household items, then you might also need a saw, a drill, a file, paints and stains, glues, etc.
Winding
To keep everything easy and inexpensive, we will be winding our pickups by hand, but there are several tools and methods available that can help you wind your pickups at a more professional level. These units can be quite pricey, but they can make short work of winding the pickup and they produce a consistently high-quality coil. These machines can even count the windings so they can create the same coil time after time (Fig 4).
Fig 4
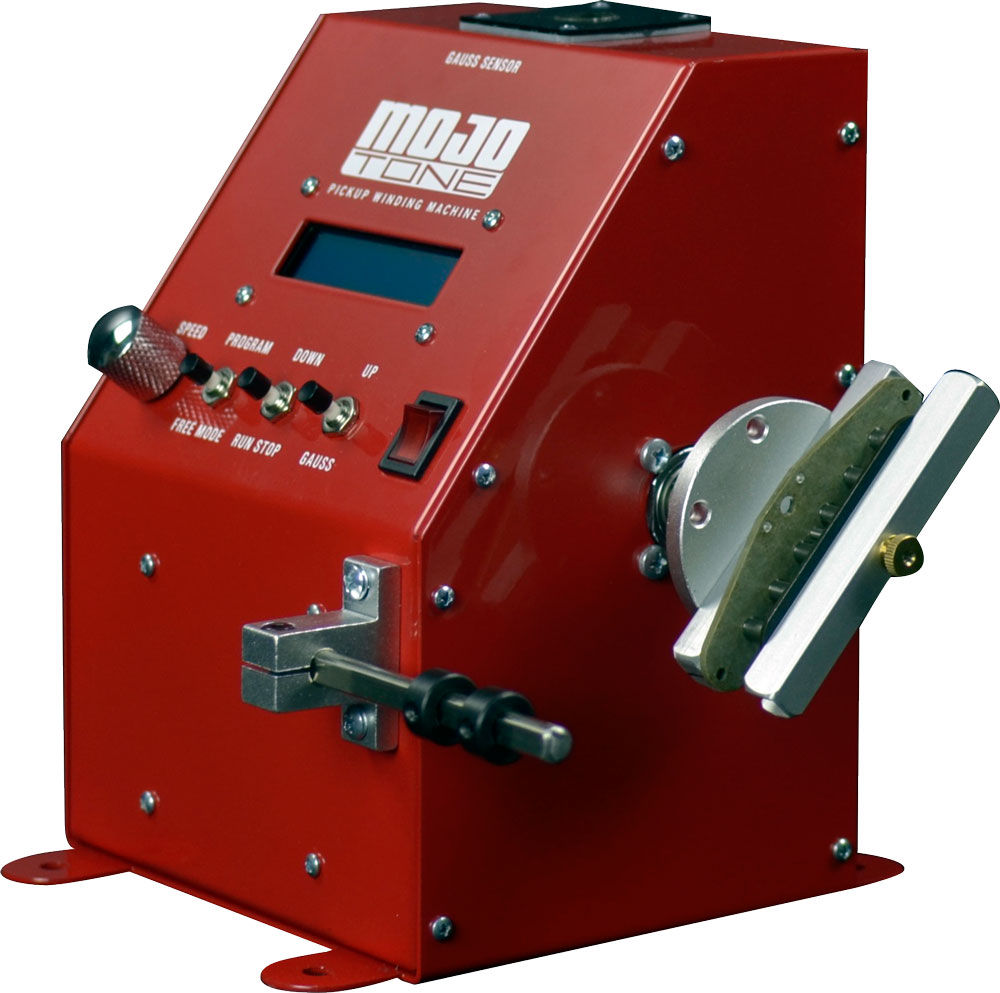
Some DIY pickup makers have created systems in which they can use their hand-drill to help wind their pickups, and I have also heard of people who use a fishing reel with fantastic results. If you need to create a lot of pickups, or you are looking to start your own business, then one of these devices or ideas might be something that you’ll want to look into. If you are just looking to learn how your guitar pickups are built, and maybe make a few for yourself, and certainly for your first pickup, winding by hand should be fine. The great news is that winding by hand is called “scatter winding” and it is actually something that often leads to a great-sounding pickup that can’t be duplicated on a machine. Hand-wound pickups are hard to find and very expensive.
Bobbin
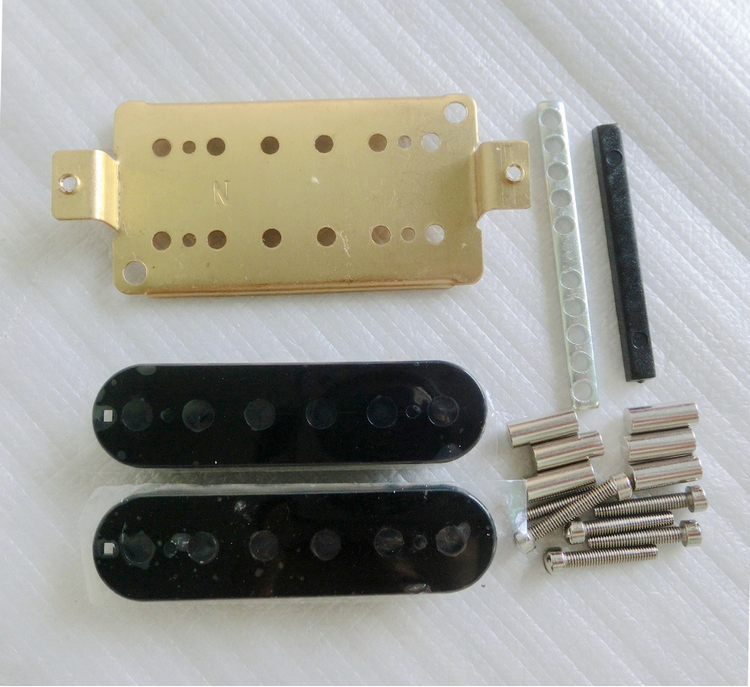
The next thing we need to have are the parts that create the bobbin. There are many do-it-yourself kits available online, keeping things simple, so you might want to just order them that way. These kits make it pretty easy to design a professional-looking pickup with minimal work. If you want to make your own parts from home materials, then you will have to get creative and find things offline that you can substitute. These pickups will take a lot more effort to make them look good but you might feel more of a sense of accomplishment. We will go over the exact parts you need to order and what you might substitute for those parts in the actual articles where we build the different types of pickups (Fig 5).
Fig 5
Coil Wire
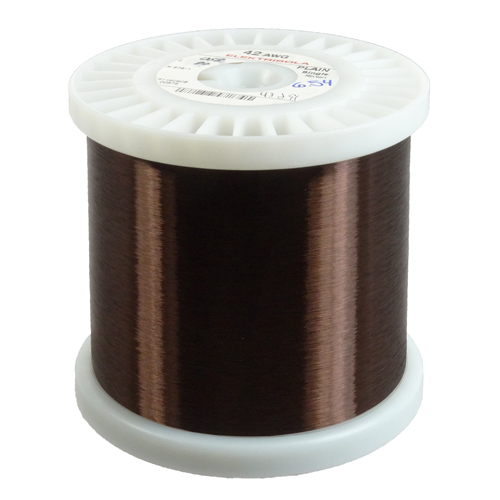
We are going to be winding our pickups using a 42 or 43 AWG (American Wire Gauge) insulated wire. I recommend starting with a spool of 42 AWG if this is your first project. You can use enamel, poly, formvar, whichever you want. This wire will probably be one of the most costly items in your pickup build, but you should get a few pickups from one spool (Fig 6).
Fig 6
Wax Potting
When we are just about finished with our pickup we are going to need to submerge it in wax. This process is called wax potting, and we’ll need about a pound of plain paraffin wax. The best source for wax is the canning section of the grocery store (Fig 7).
Fig 7

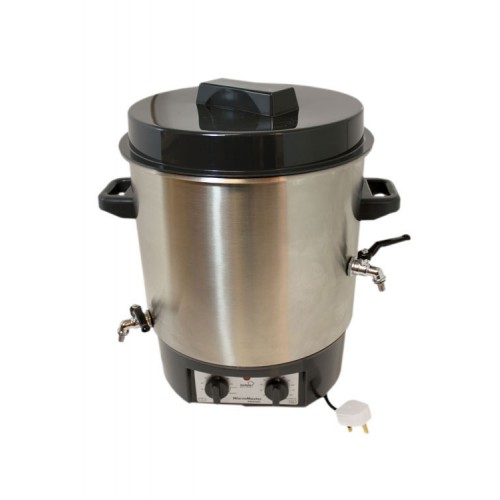
You will also need something to melt the wax in. Paraffin wax can be extremely dangerous, so you need to be very careful and make sure you don’t use it near an open flame, or get the wax too hot. Always use a double boiler or a device that has been designed for melting wax. There are many wax-melting devices in health and beauty sections of many stores. You need something large enough to completely submerge the pickup, and it will need to stay submerged for 30 minutes or more. I personally use an electric Crockpot filled with water and I float another pot with the wax in the hot water. It works great and is well within safety margins (Fig 8).
Fig 8
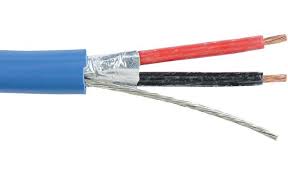
Pickup Wire
One last thing that we are going to need is the wire that attaches on one end to the pickup coil, and on the other end, to the guitar. If you are creating single-coil pickups you will want a two-conductor shielded wire, and if you are building humbuckers, you will want a four-conductor shielded wire. This wire comes on spools just like solder and coil wire and a single spool should last a very long time. If this is your first project, I recommend the two-conductor shielded wire, because we will be building single coil pickups first (Fig 9).
Fig 9
Summary
This pretty much covers all of the pickup parts we’ll need before we can build our project. Once you have assembled these parts you will have the tools for these, as well as many of the other projects that we cover here at humbuckersoup.com. You should also have enough materials to build several pickups, and building these pickups will really help you acquire an understanding of how they work and why they sound different from one another. So, now that we’ve assembled our pickup parts, I’m looking forward to seeing you in our next article, where we will actually start to build our first single-coil pickup. It’s going to sound great!
If you’ve found this article helpful, please feel free to share this with your friends on Facebook and Twitter.