By Ed Malaker
Posted 04/13/2019
In the last article we talked about building our own single coil pickup, so this time, we’ll talk about making double coil guitar pickups. If you missed the single coil article, you can check it out here: Building Your Own Electric Guitar Pickups – Part 3. In Building Your Own Electric Guitar Pickups – Part 2, we went over all the tools that you’ll need, so you might want to take a look at that as well.
Here, in Part 4, we’ll cover topic content and also try to answer the most common related questions.
About Double Coil, or Humbucker, Pickups
A double coil, or humbucker guitar pickup, features two electromagnetic coils working together. There are a couple of reasons that you might want to use a humbucking pickup in your guitar. The first is that they are much quieter than single coil pickups because, as the name suggests, the two coils work together to cancel out the noise. If you built the single coil pickup in the last article, you probably noticed a persistent hum, or buzz, especially when standing near a TV or other electronic device. This is because an electromagnetic single coil pickup acts as an antenna that receives 60 hertz electricity hum from the wiring in your home.
One of the first solutions to this hum problem is to use two coils that are wound/wired out of phase with each other. This means that one coil is wound in a clockwise direction, while the other is wound in a counterclockwise direction. When you wind two coils out of phase with each other and then combine the two signals, the guitar sound will double its output volume, while the hum will void itself through phase cancellation. This is where a humbucker pickup gets its name.
This is exactly the same idea that is in use on your microphone cables. Your three-prong XLR cables use this exact same system of phase-canceling noise.
Humbucker Characteristics
Besides being much louder than single coil pickups, another characteristic of humbucker pickups is that they have a warm tone, with noticeably less high-end than a single coil. This is because each coil picks up the sound from a slightly different position on the string, and when the two signals are combined, some higher frequencies cancel each other out. One of the reasons the single coil pickup survived the invention of the humbucker is that many guitar players will deal with the hum for the crisp, clear tone that a single-coil pickup provides.
Another characteristic of the humbucker pickup is that there is more magnetism involved, and this could pull on your strings and affect your tone and sustain. The two coils also double the size of the pickup and your guitar will need a place to fit it. There are many styles of humbucker pickups available that will fit into a single coil spot, but the one we are going to build is going to require that your guitar be routed for a humbucker-sized pickup.
This is not to suggest in any way that humbucker pickups are no good or sound bad, quite the contrary; there is a huge number of high-quality, great-sounding guitars that use humbucker pickups. The Gibson Les Paul, Paul Reed Smith, and Ibanez, are just a few of the great-sounding guitars that use humbucking pickups.
A positive characteristic of the humbucker pickup is that it outputs a high-gain signal. The extra gain makes it a great choice for a bridge pickup which inherently needs a high-output pickup, because the strings vibrate less at the bridge and produce less voltage. The higher gain also drives the amplifier harder, which leads to more overdrive and a thicker distortion. This makes the humbucker pickup an excellent choice for Hard Rock and Metal players.
The warm tones of a humbucker pickup make it a great choice for high-pitched distorted lead guitar solos, which often become shrill and piercing with single coil pickups, and their nature makes them much friendlier in a recording studio environment.
There are many variations in the way humbuckers are wired, and this can extend their versatility. For example, we can wire the humbucker to a toggle switch that, when flipped, shuts off one of the coils, to give us single-coil tones.
It will be your choice to wire your pickup with a two-conductor, or a four-conductor lead wire. The four-conductor lead will leave you more options if you are good at wiring your guitar. The two-conductor is easy to install; it’s just like a single coil, but you lose the options.
Making double coil guitar pickups: getting started
If you created your own single coil in the last article, then you have a head start in this one, because this time we are basically building two single coil pickups with only minor changes from last time.
If you didn’t build that pickup with us in the last article, I do recommend that you read it over so you know all the terms and ideas that we will be discussing here.
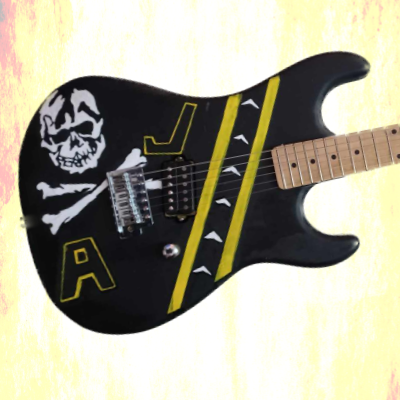
This article assumes that you already have a guitar that is capable of mounting a humbucker pickup, and that you already have a humbucker pickup that you can use to take important measurements that you will need to connect the new pickup to your guitar.
If you want to order your parts online as a kit, you can find many options by following one of these links.
Stewmac – https://www.stewmac.com/How-To/Trade_Secrets/Build_your_own_custom_pickups.html
Tone Kraft – https://www.tone-kraft.com/
Mojotone – https://www.mojotone.com/guitar-parts/Pickup-Parts
Making double coil guitar pickups: the bobbin
Just as we did the last time, we’ll start building our pickup by creating the two bobbins we will need to wind our coils. Each bobbin has two main components: the flatwork, and the posts.
Making double coil guitar pickups: the flatwork
The flatwork forms the top and bottom of our bobbin, and our coil is wound between the two. If you ordered your parts online, your version of flatwork might be a little different from what you see here, but the idea is exactly the same.
If you are going to make your own flatwork, you can use many different things that are non-conductive, and easy to work with. For this example, I am going to use wooden craft popsicle sticks that I got from Walmart for this article. (Fig 1)
Fig 1
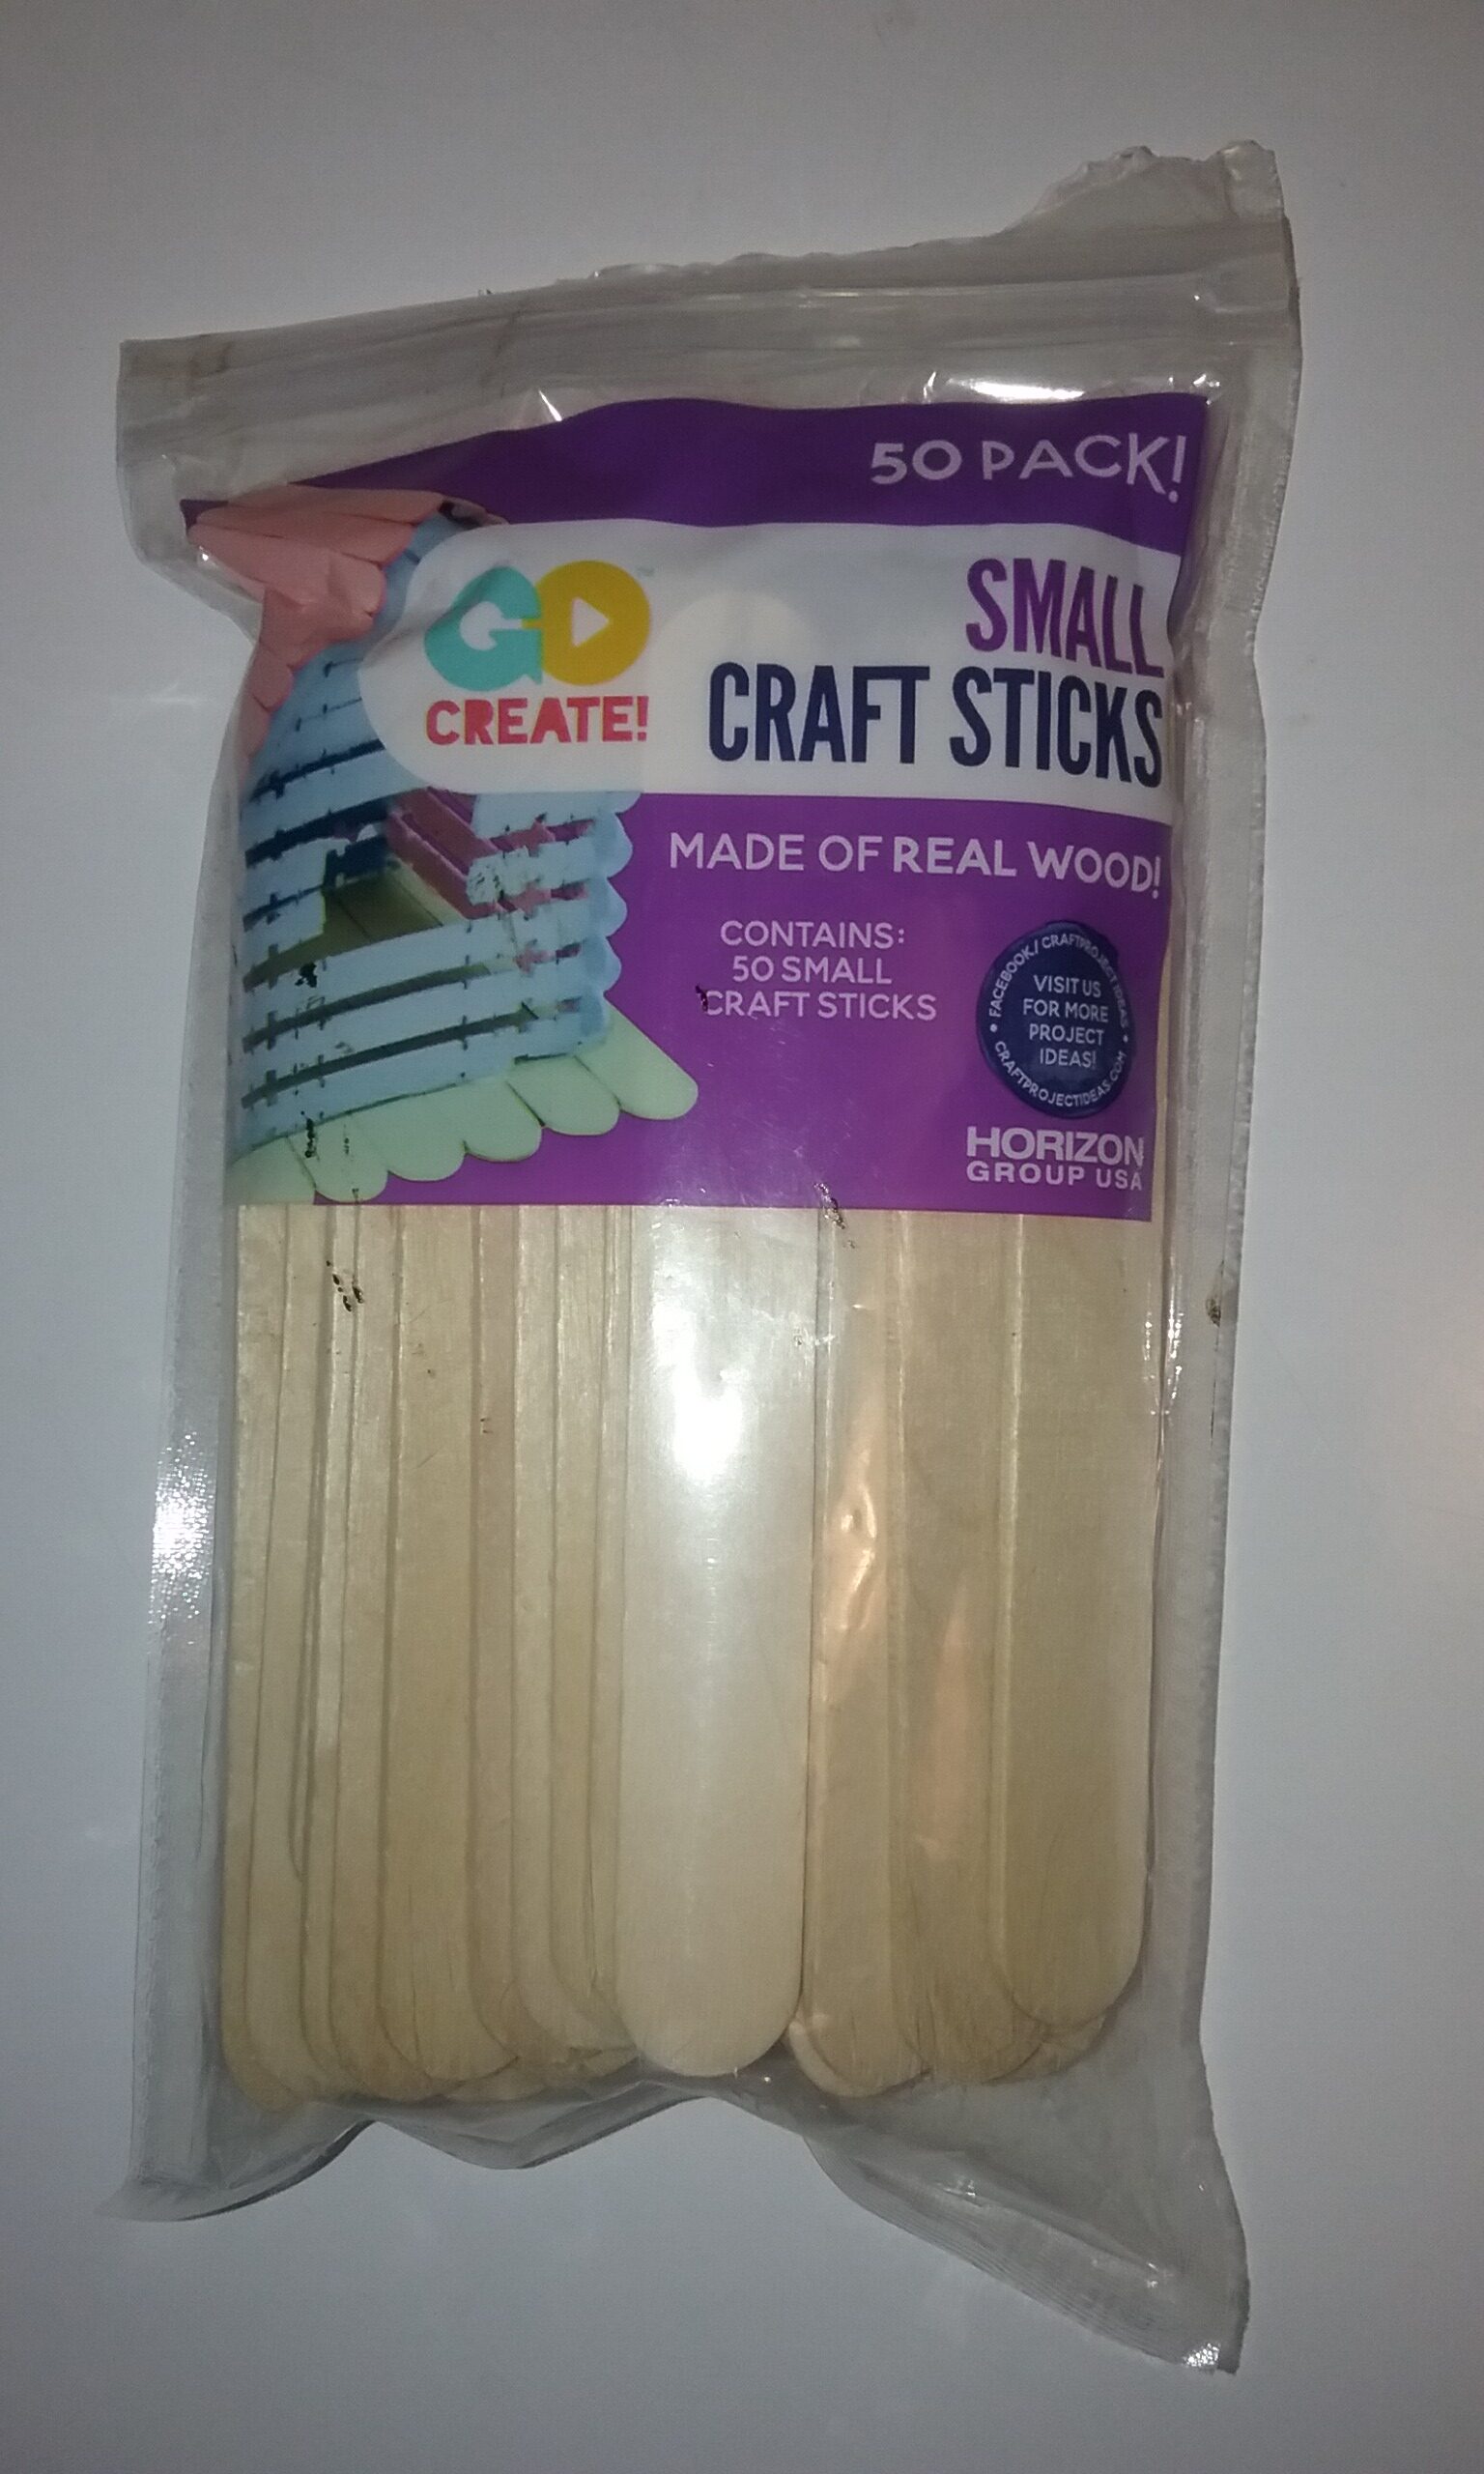
There are some downsides to using the craft Popsicle sticks. For instance, they are not very high-quality, so there are a lot of misshaped ones, and some of them are warped,
so you will need to dig through them all to find the best ones. Another thing that I noticed when working with the craft sticks is that the wood is very soft and it will crack and splinter very easily. One more thing that you might want to consider before settling on using the craft sticks, is that we don’t know how well they will stand the test of time. I strongly recommend painting or staining them, maybe even applying some clear coat, varnish, or lacquer, to protect them from the moisture in the air.
Drill Post Holes
The first thing that we want to do is drill the holes for the posts, because they are large and have a tendency to split the wood. I found that the wood splits much more often if you trim the wood to size first.
I started by first creating a template that I could use to drill each piece of flatwork.
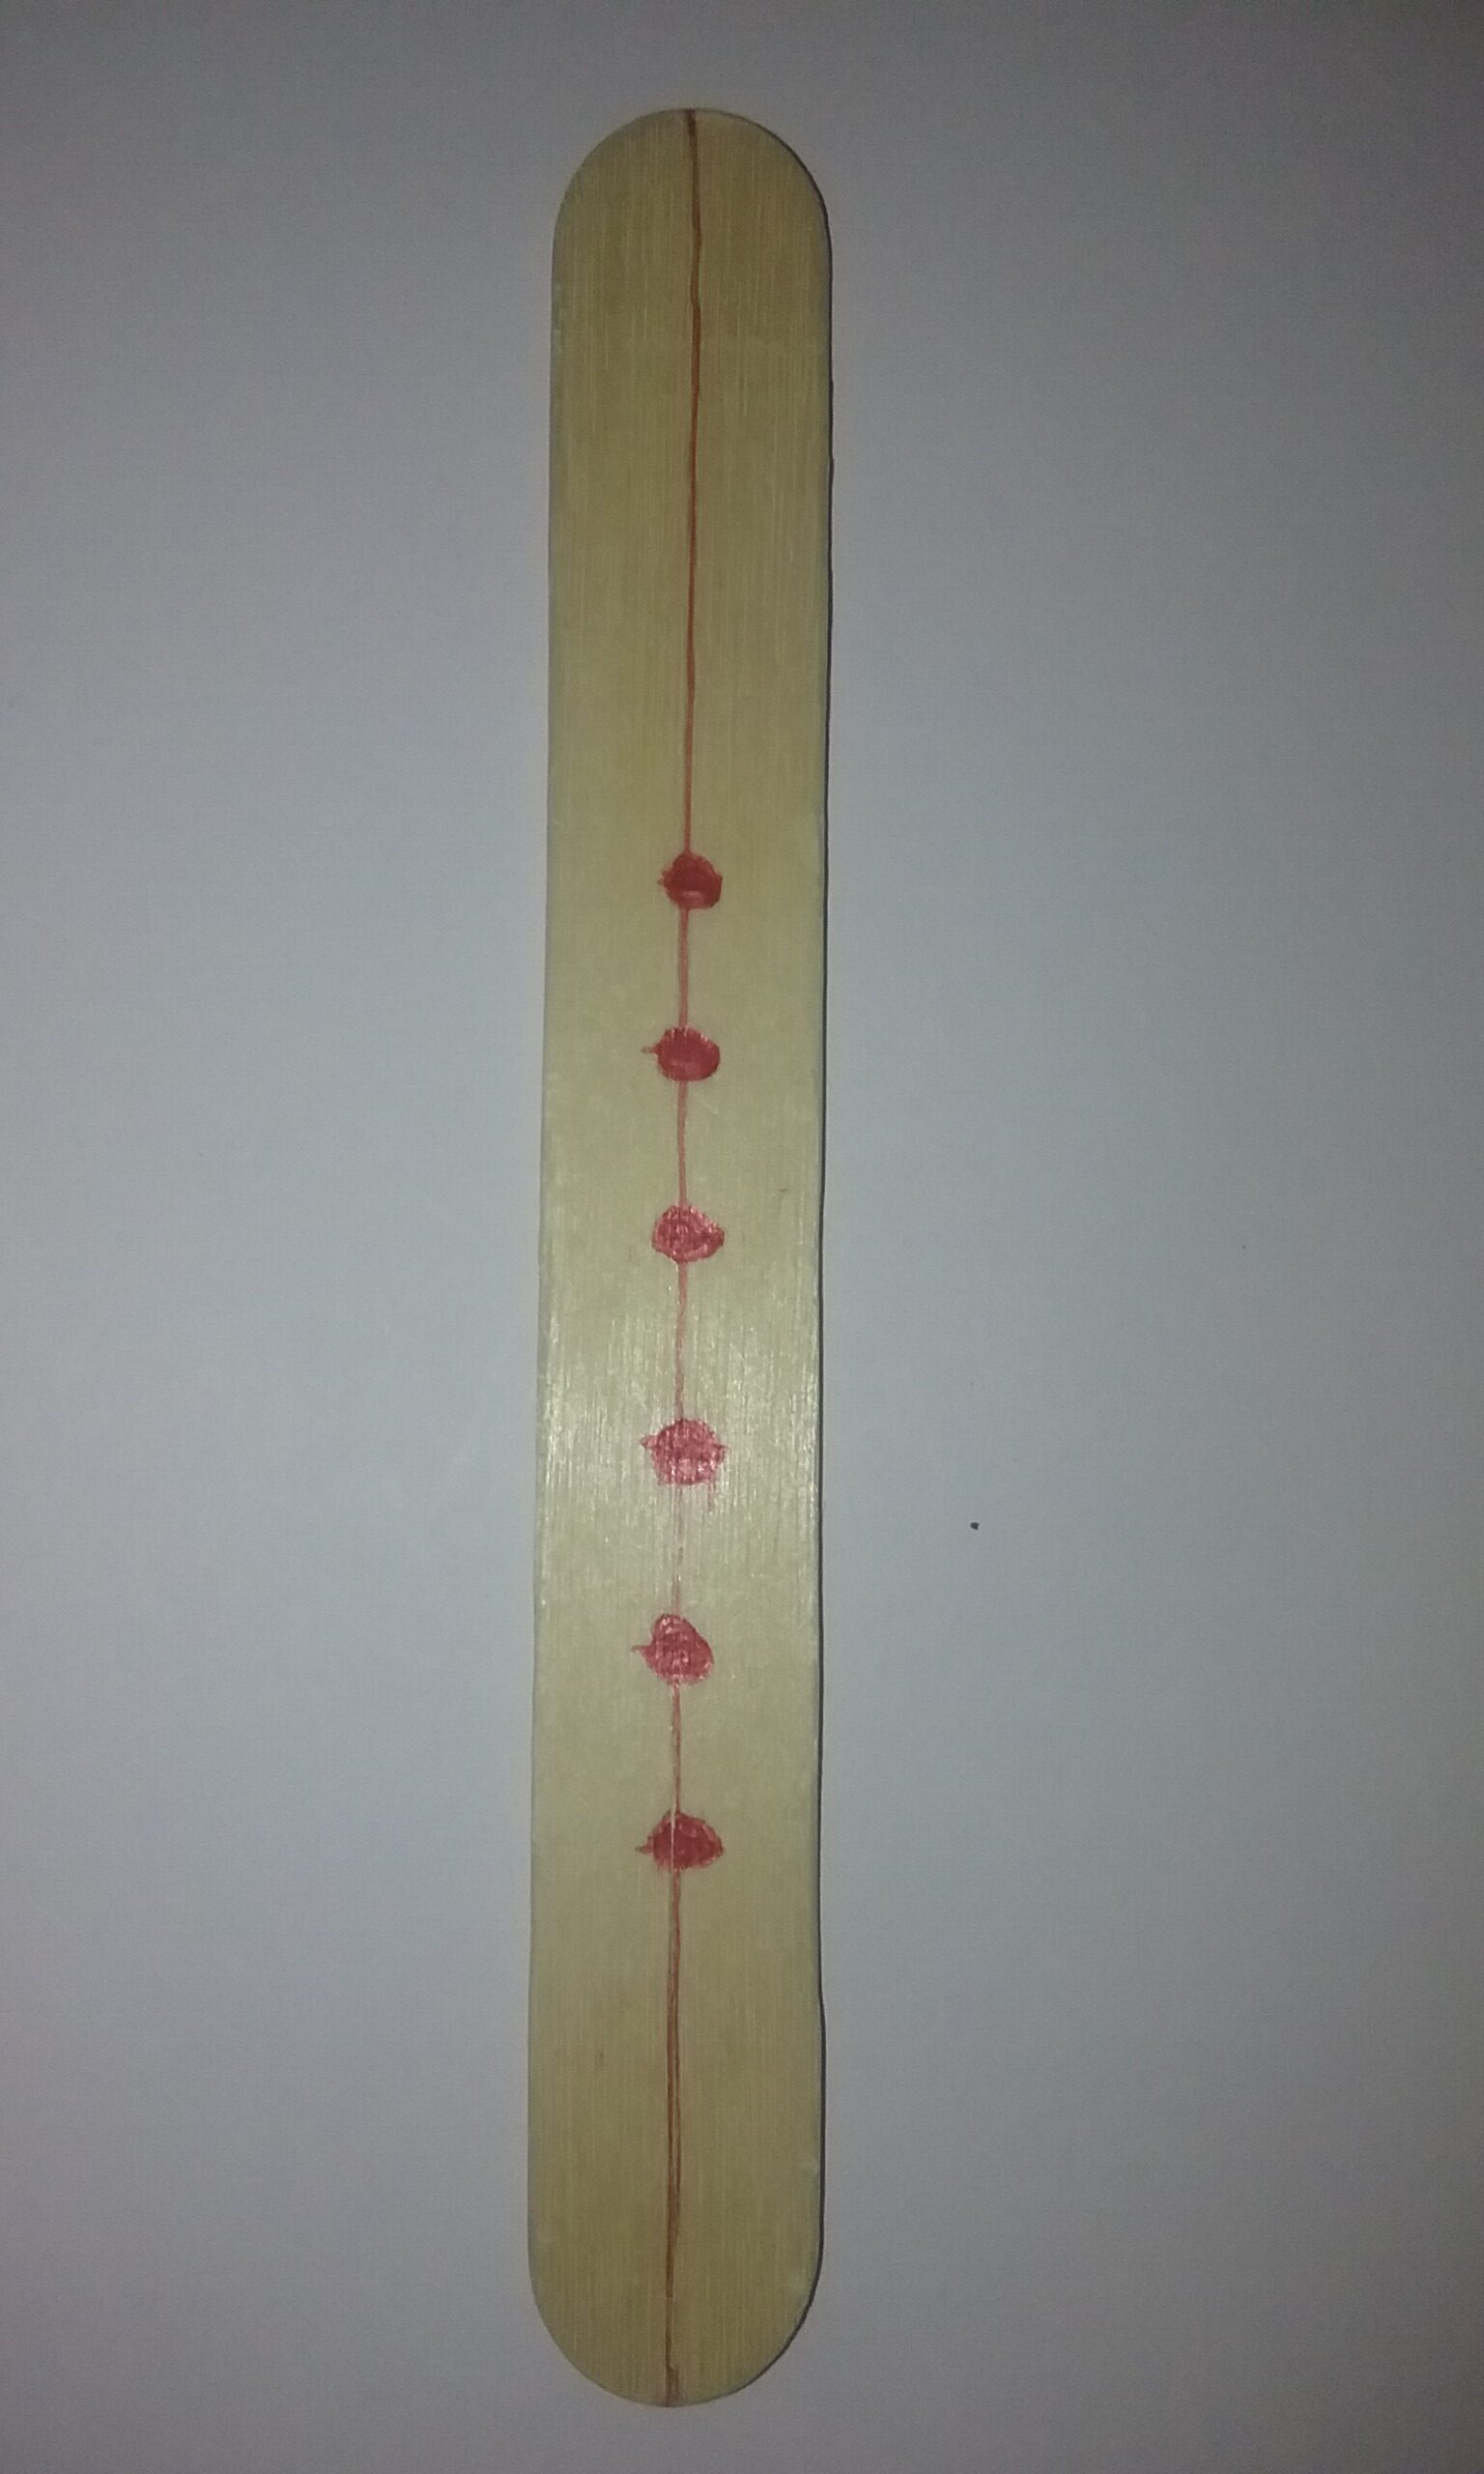
First, find the center of the Popsicle stick longways, and draw a line in pencil (I used a pen so it is easier to see but you should never use a pen). When you are finished it should look like Fig 2.
Fig 2

Once I have the center line drawn, I can once again use the pickup in my guitar to line up, and mark where I will need to drill the holes for the posts. We need to make sure our marks are lined up with our strings. Once the marks are made, it should look something like Fig 3. You do not need to worry too much about the marks for the posts being lined up with the ends of the stick because we will be trimming it down.
Fig 3
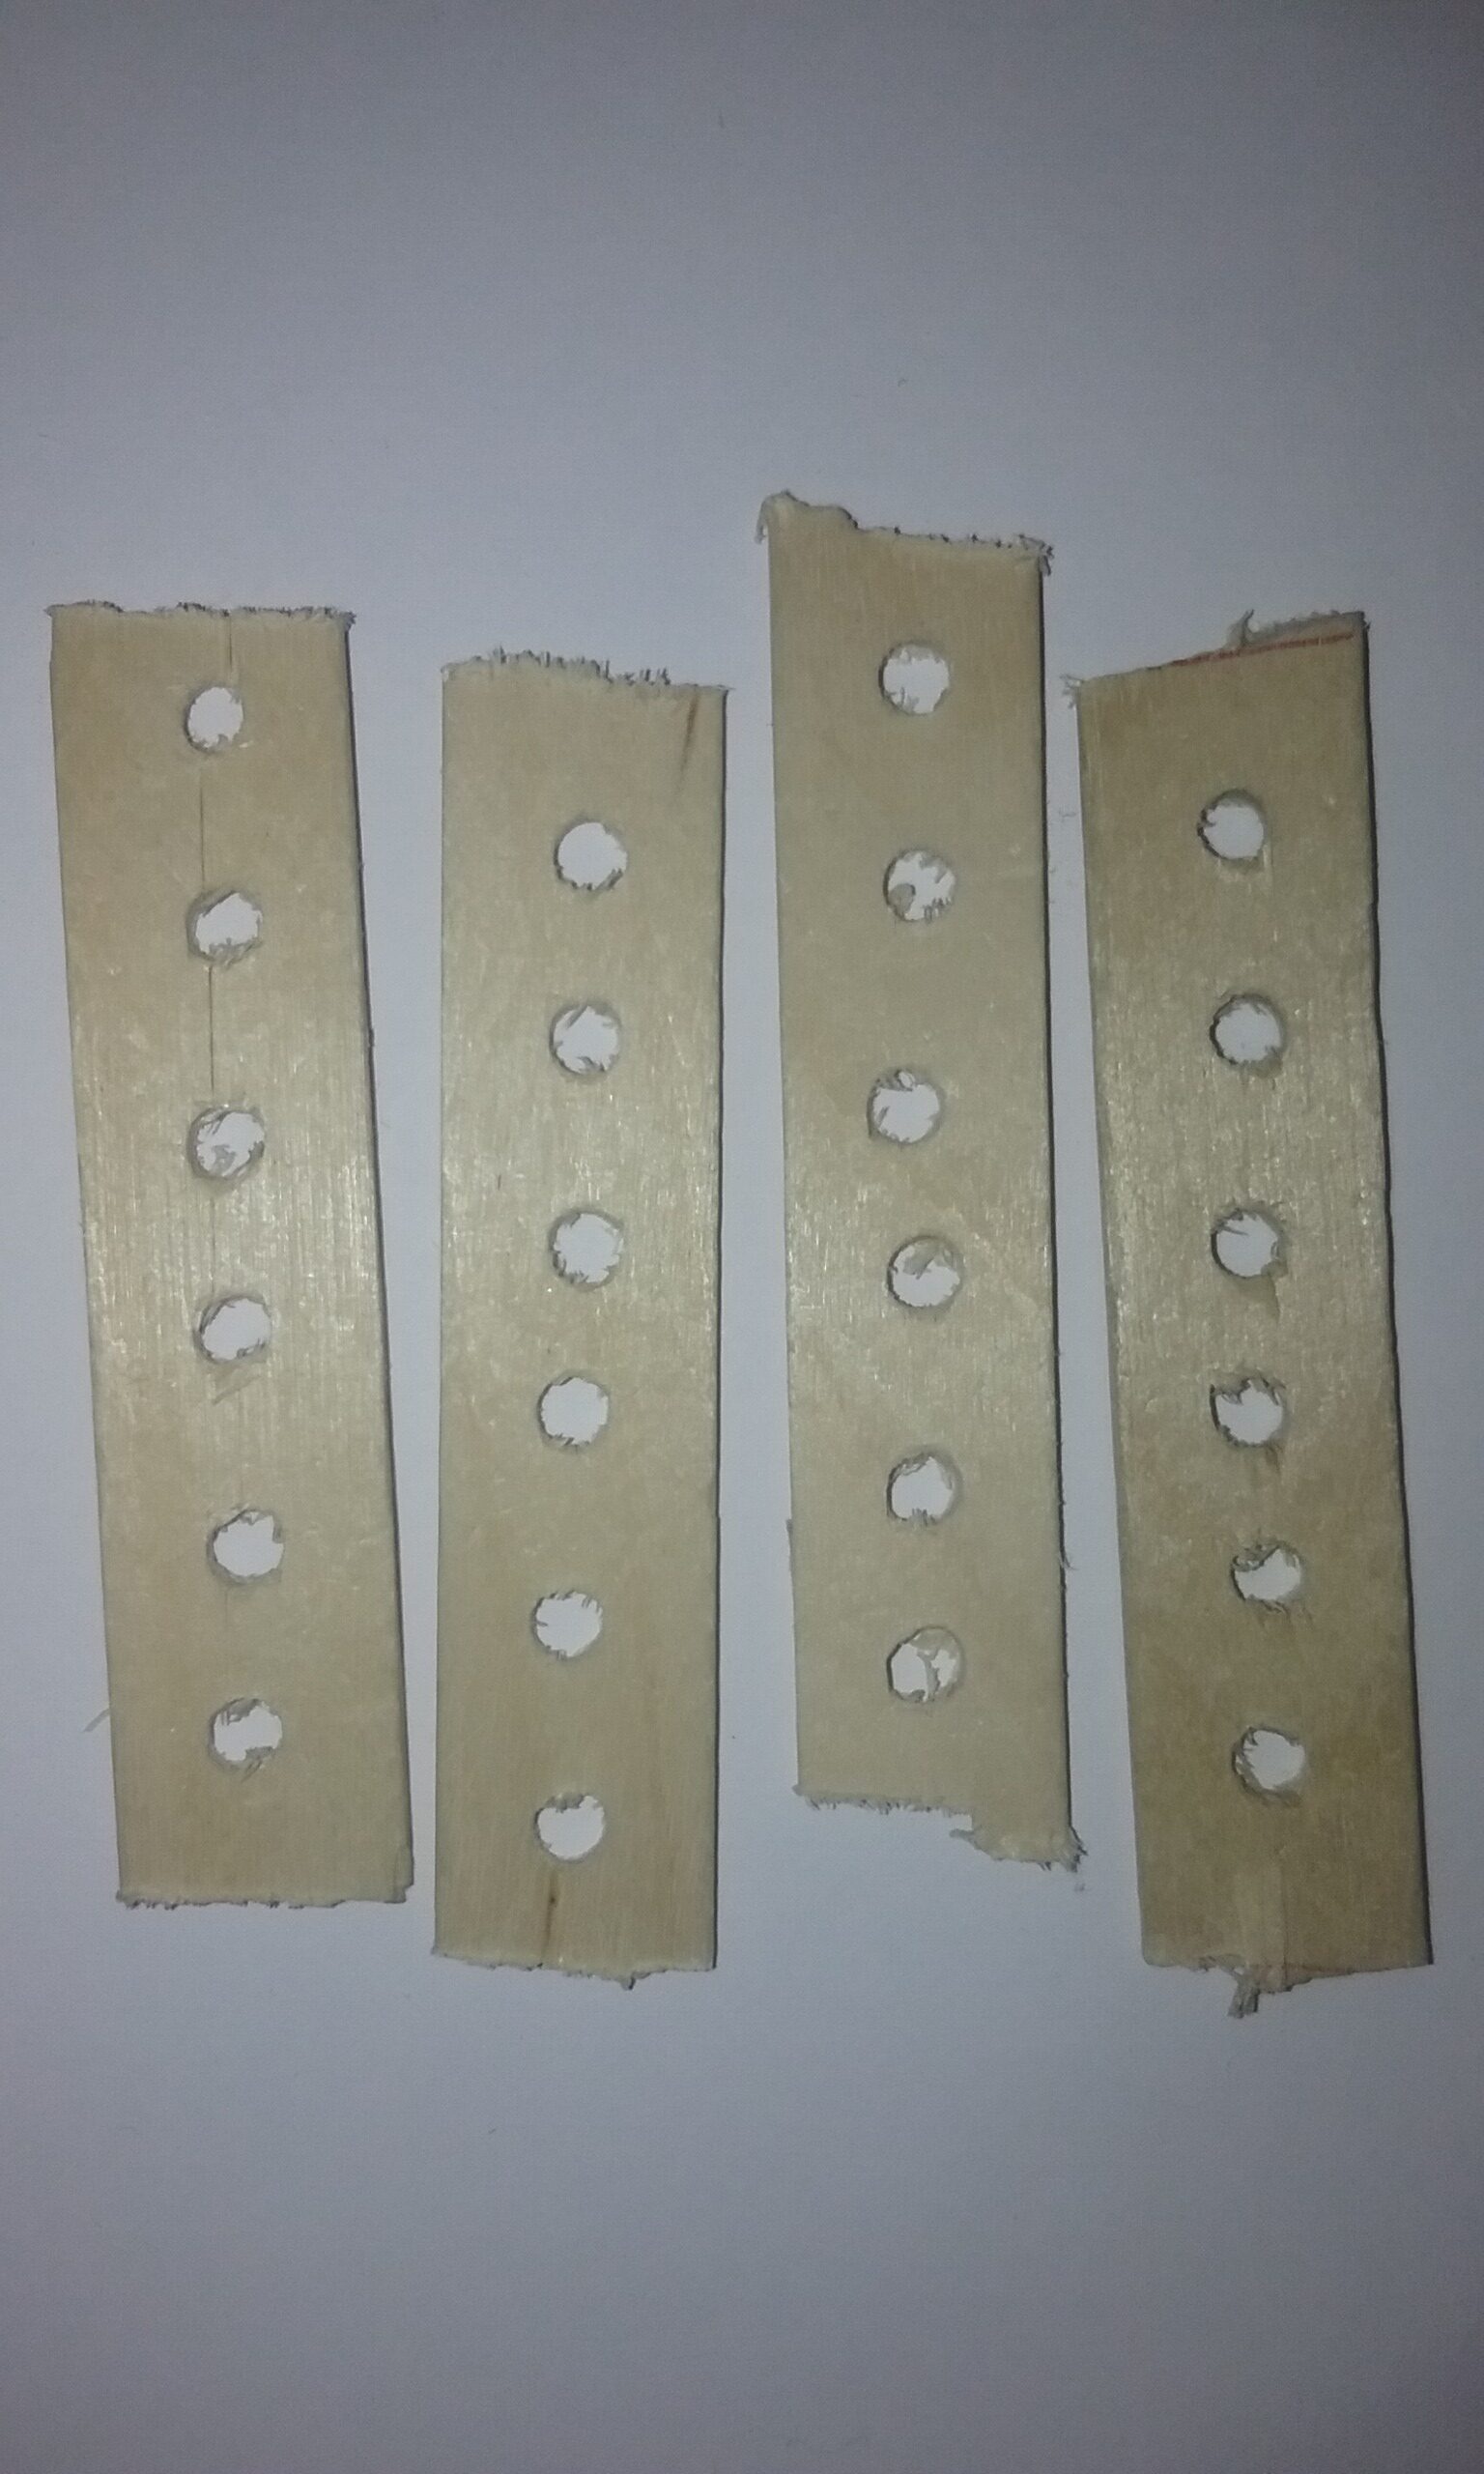
Once the marks are made, it’s time to carefully drill the holes. I have found that you break a lot less when you drill several pieces of flatwork at the same time. I have also found that it is better to start with a much smaller hole than needed, and gradually increase the size of the hole, using increasingly larger drill bits. It might seem tedious to do it this way, but it’s necessary, because the Popsicle sticks are just that flimsy. Make sure that your finished holes are the exact same width as the posts that you intend to use. If you are using machine screws, the hole should be the right size for that screw. Once the holes are drawn, they should look something like Fig 4.
Fig 4

Trim the Flatwork
Once you have the holes drilled for at least four pieces of flatwork, it will be time to trim them down to the right size. I used the pickup installed in my own guitar to get the measurements to make the template. I used a small-tooth, mini hacksaw blade to trim each of the flatwork pieces. Even though I was very careful and took my time, I still broke quite a few sticks. Hopefully, you will have better luck. Once you do get four pieces, they should look something like Fig 5. I’m not too worried about the jagged look of these right now; I will file it down later, when everything is in place.
Fig 5
Once you have four pieces of flatwork trimmed, you are done with that part and it’s time to add the posts.
Posts
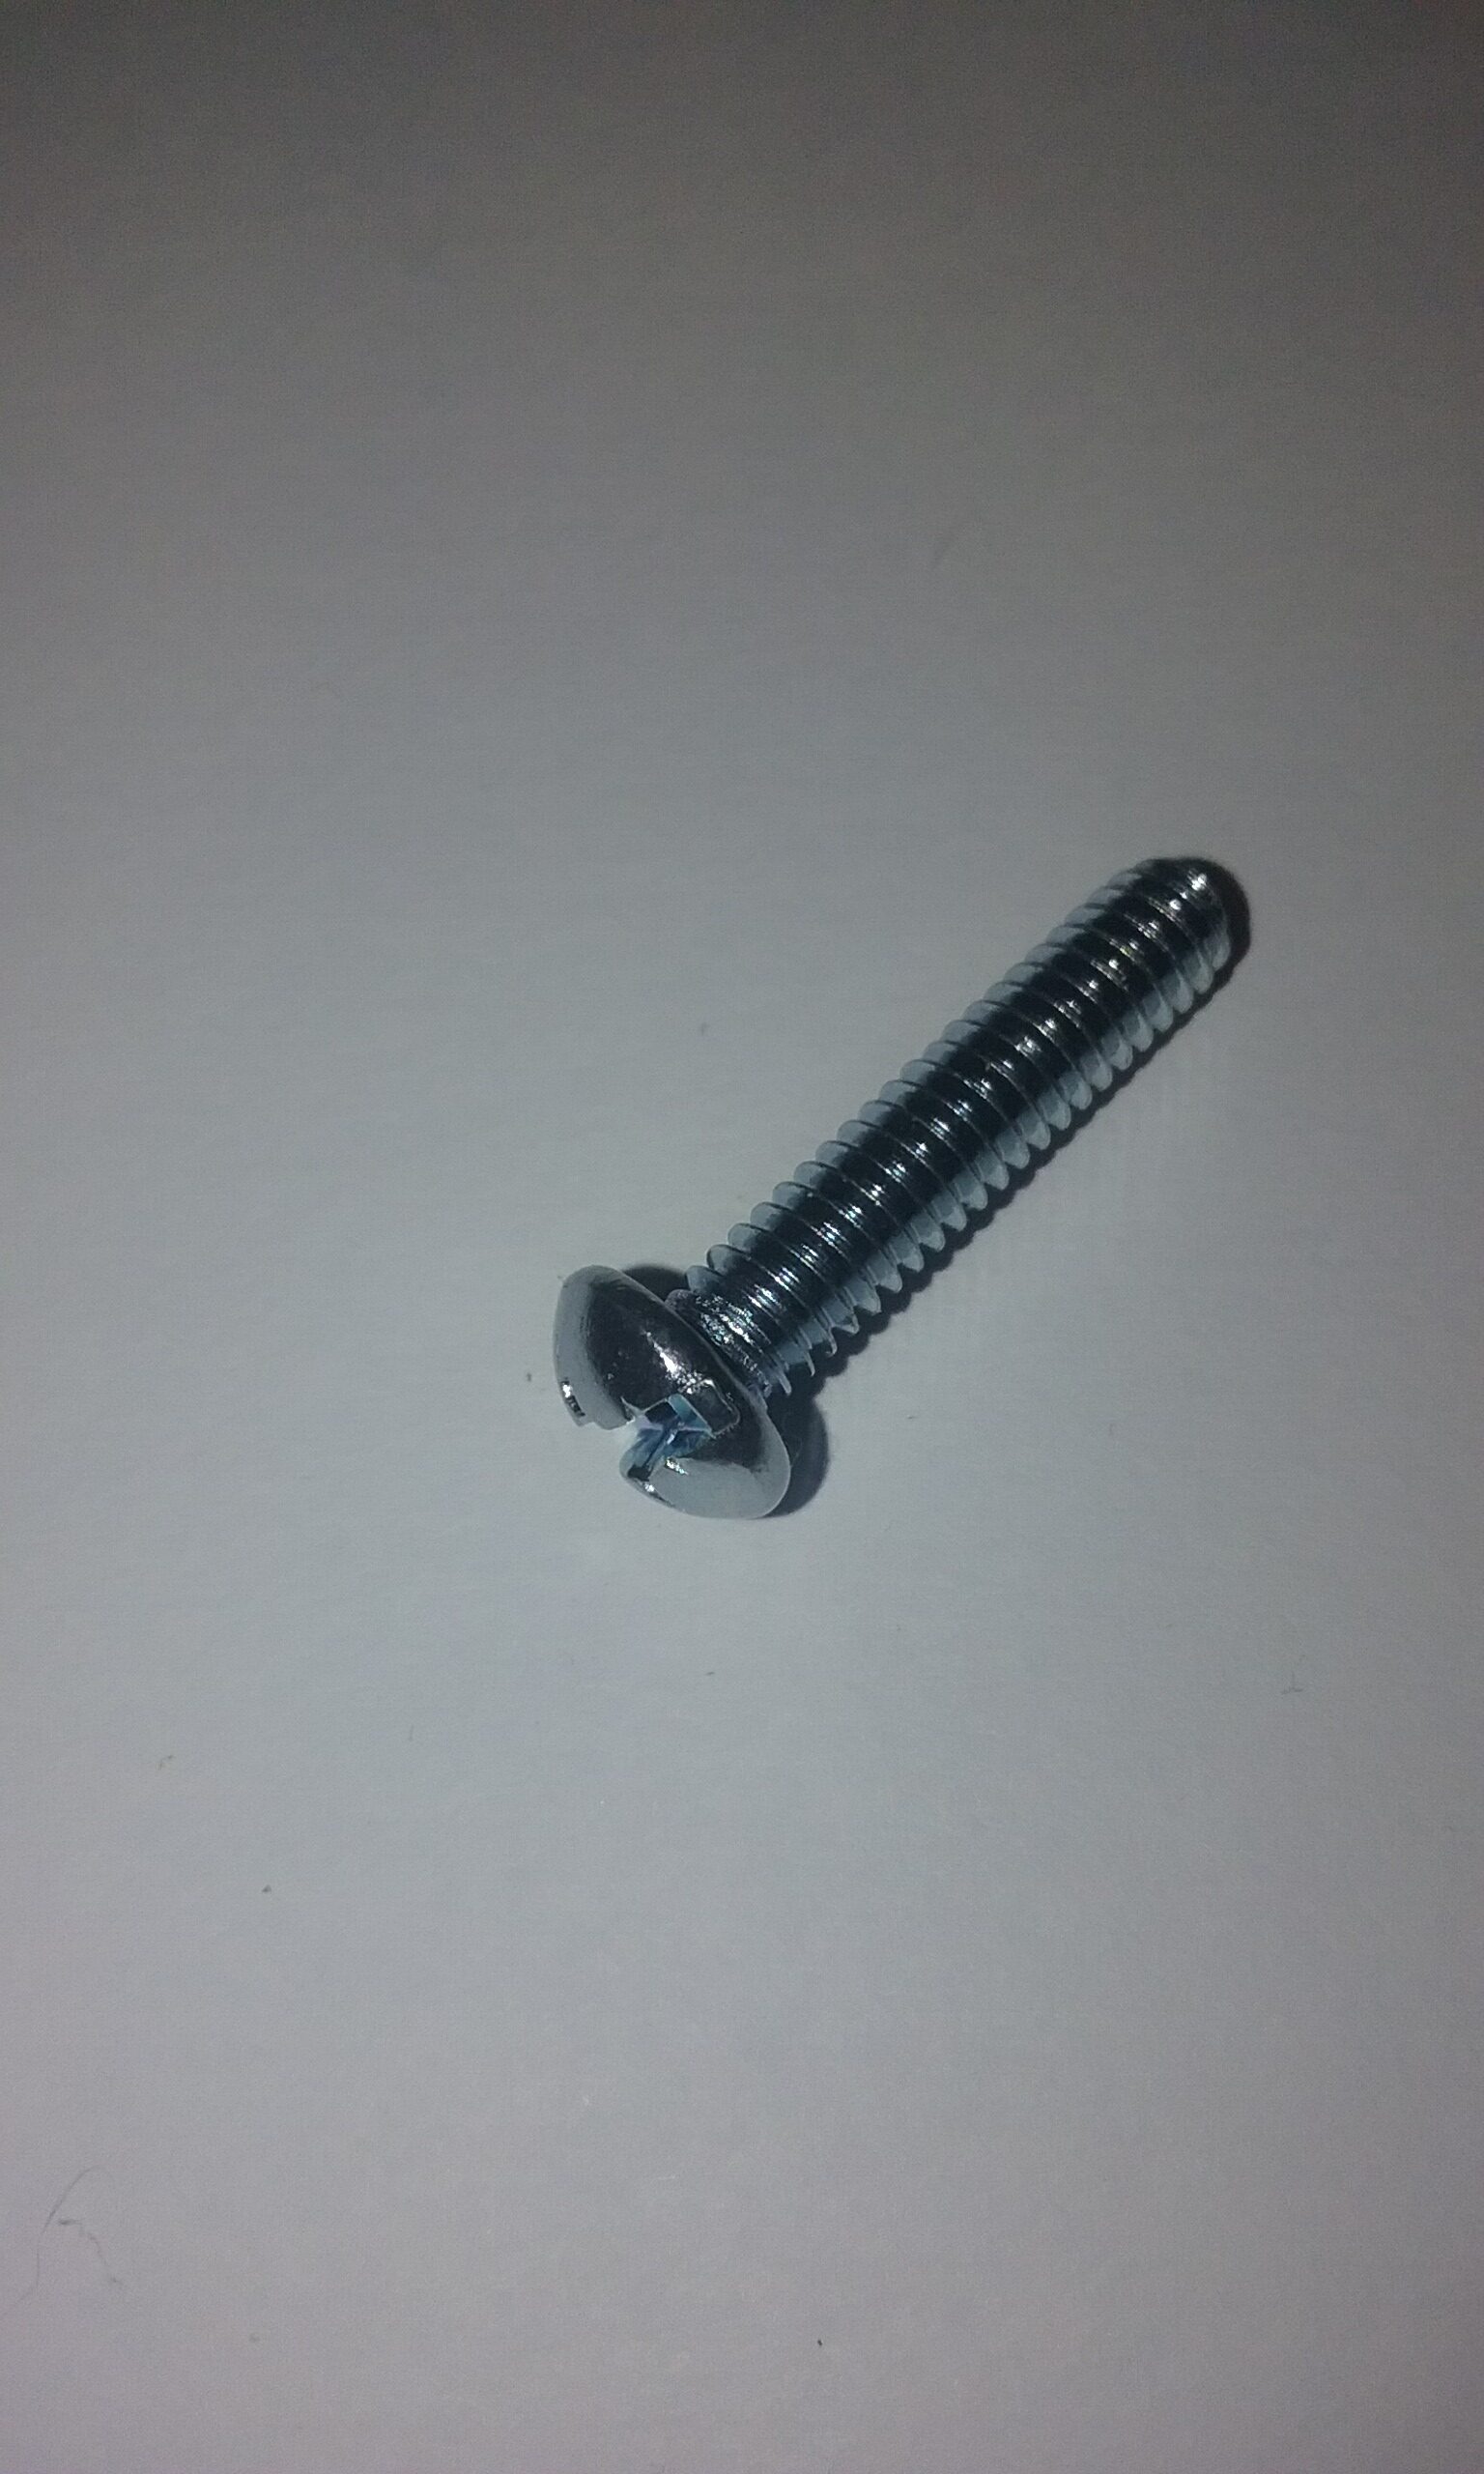
I used 3/4 inch long steel machine screws (Fig 6, Fig 7) for my posts, but you can use whatever you have available.
Fig 6
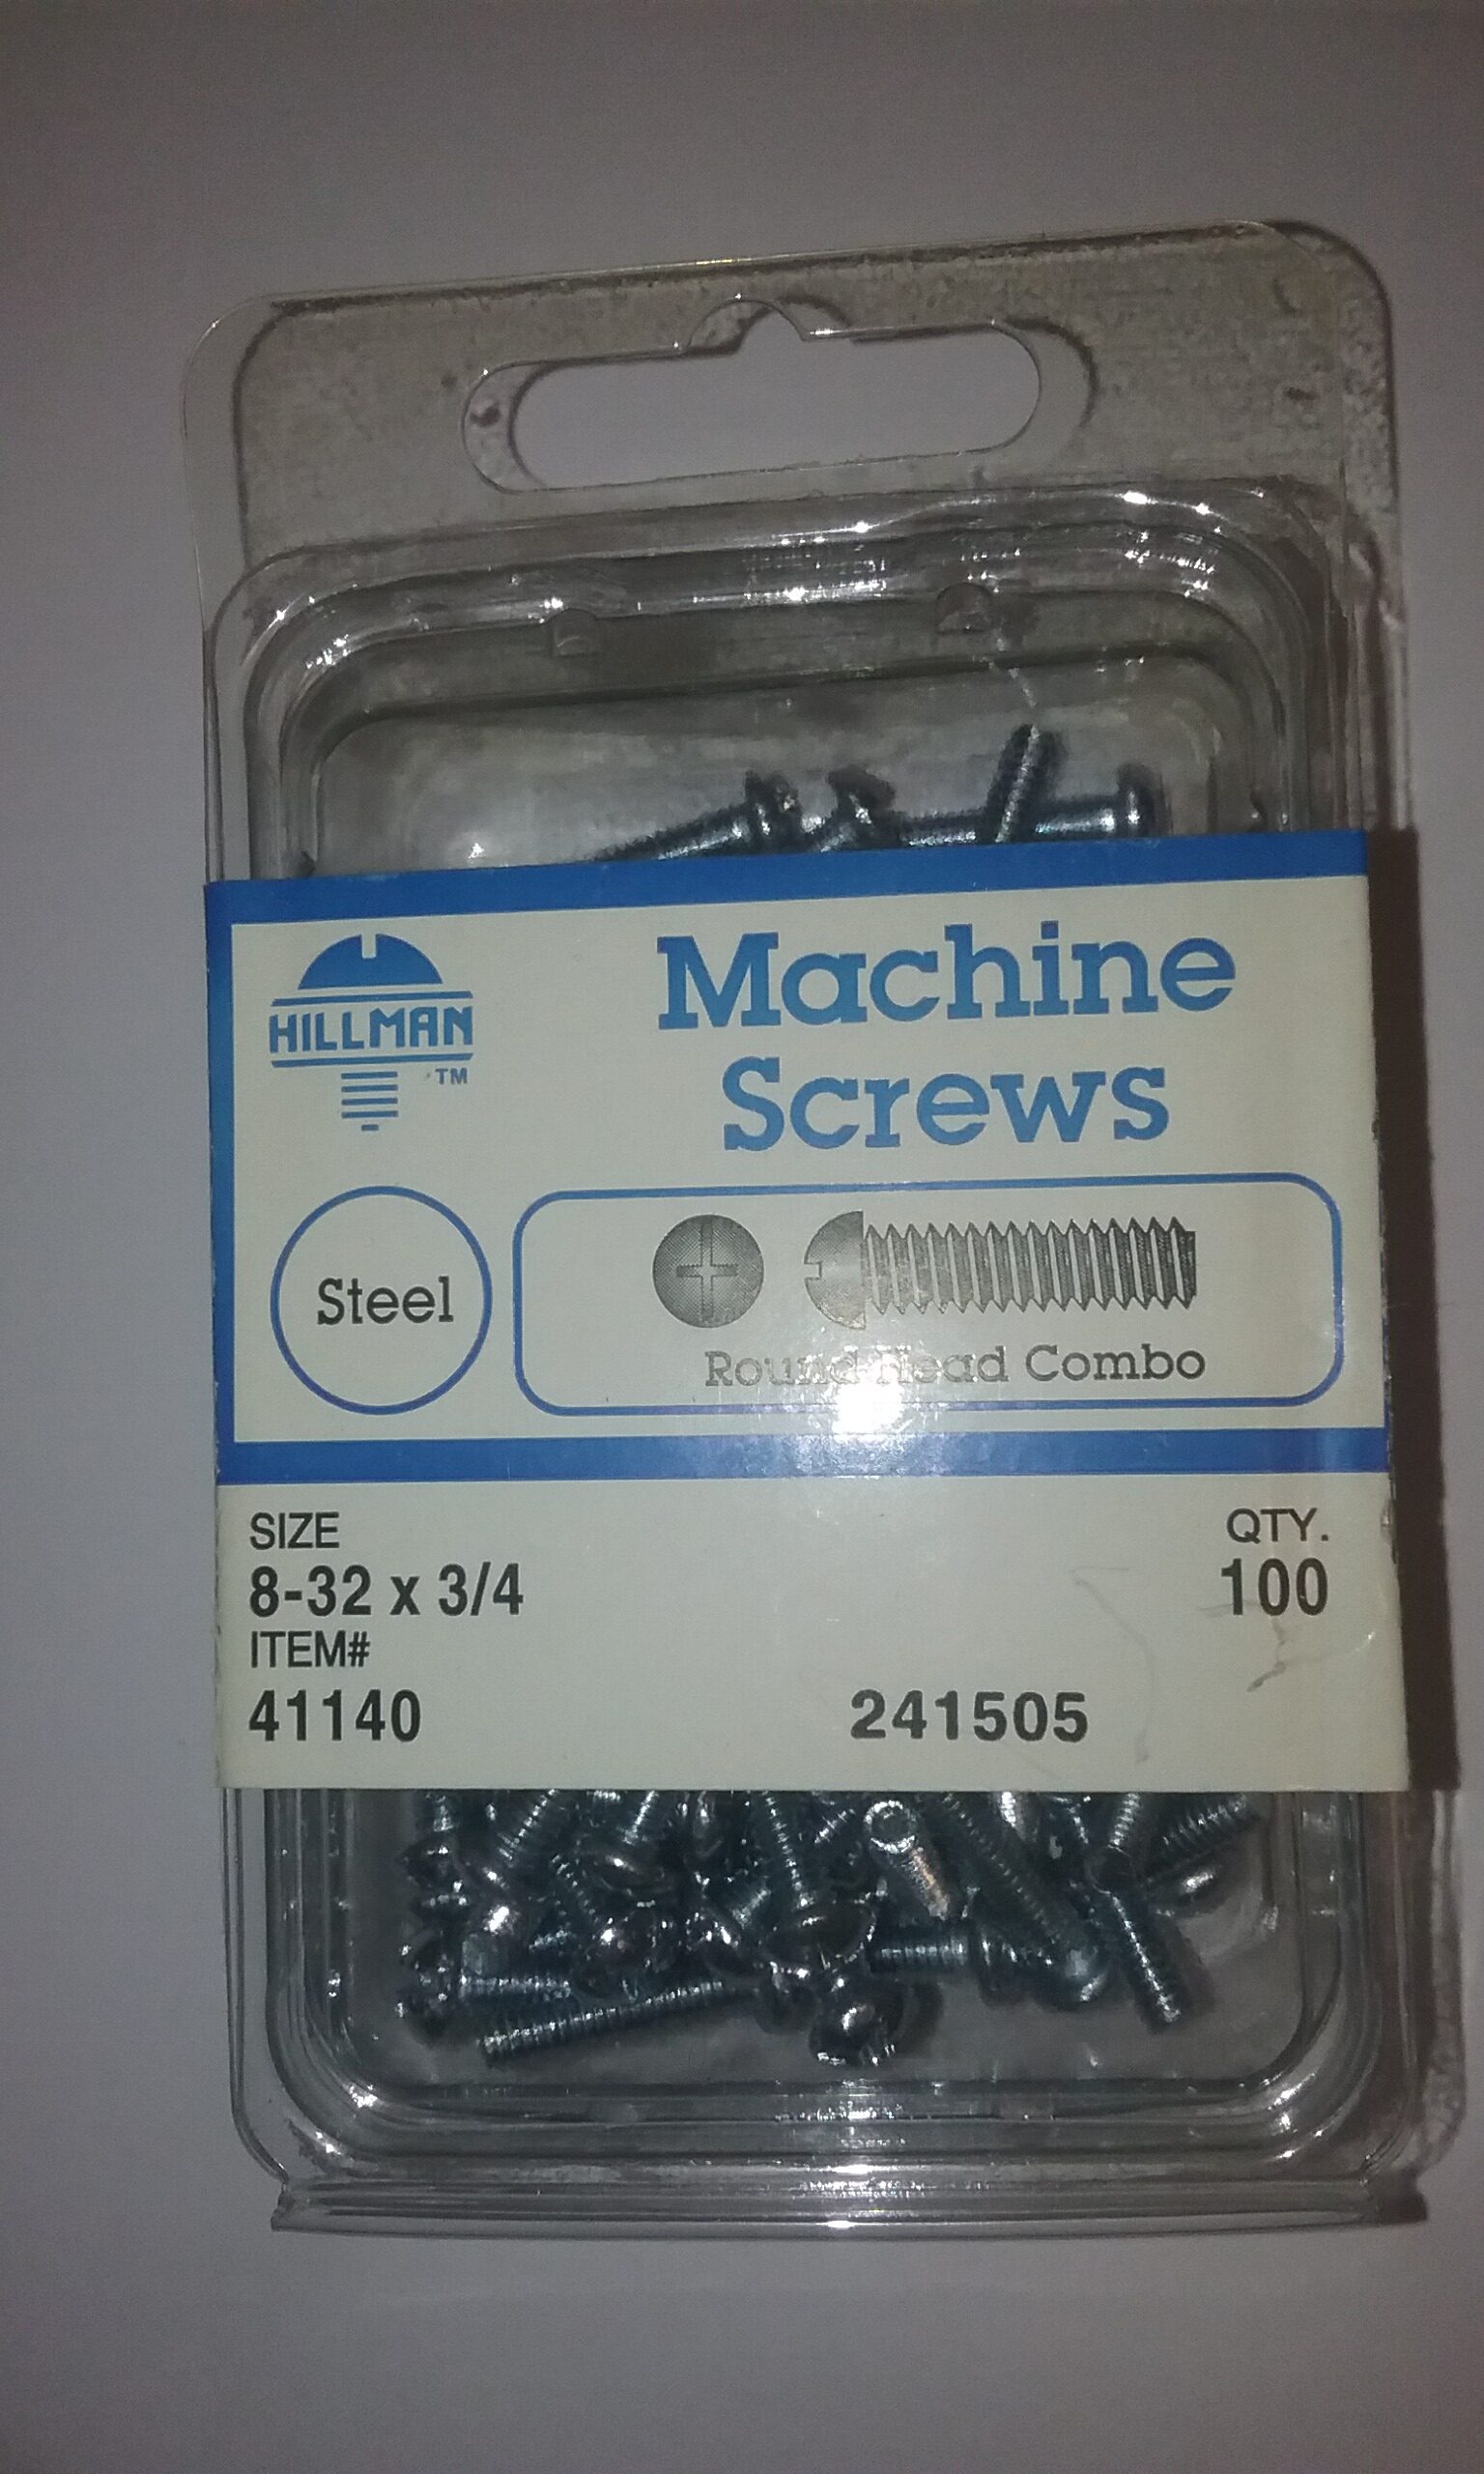
Fig 7
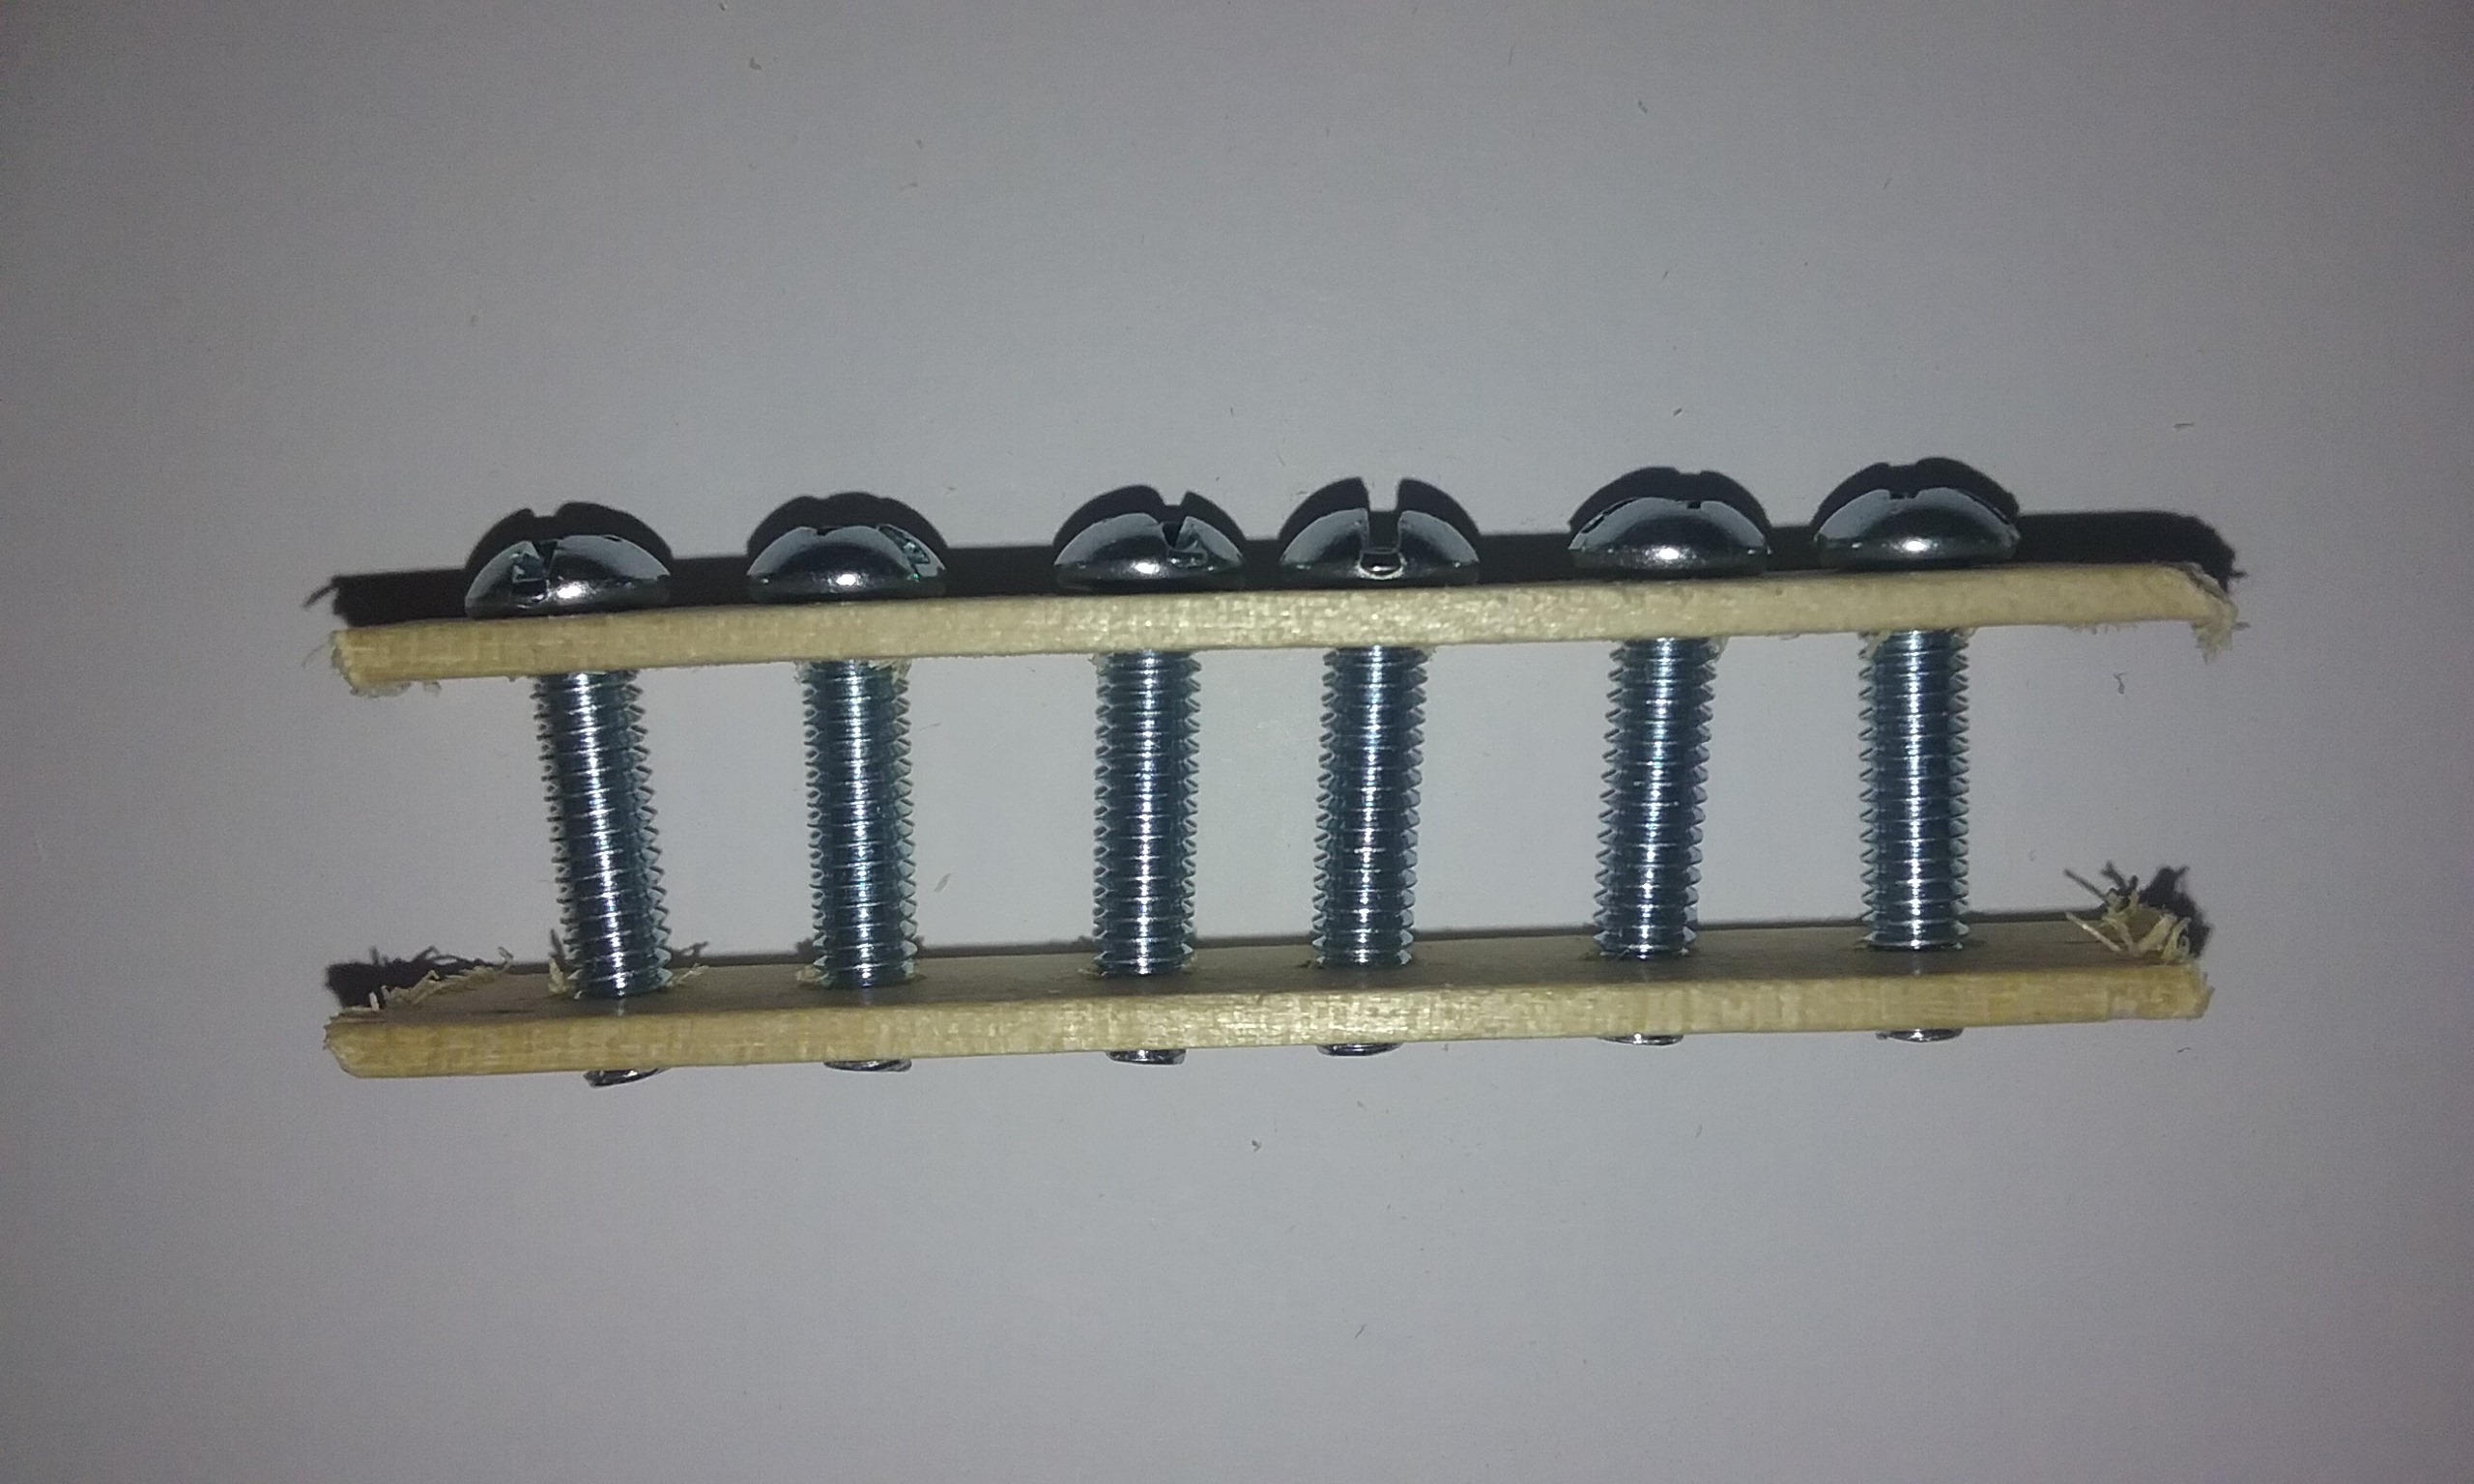
Once the holes were drilled to just the right size, I screwed the bolts through the wood for both the top and bottom pieces of flatwork. When you do the same and you’re finished with each of the six steel posts, it should look something like Fig 8. Hopefully, yours comes out a little better than mine did.
Fig 8
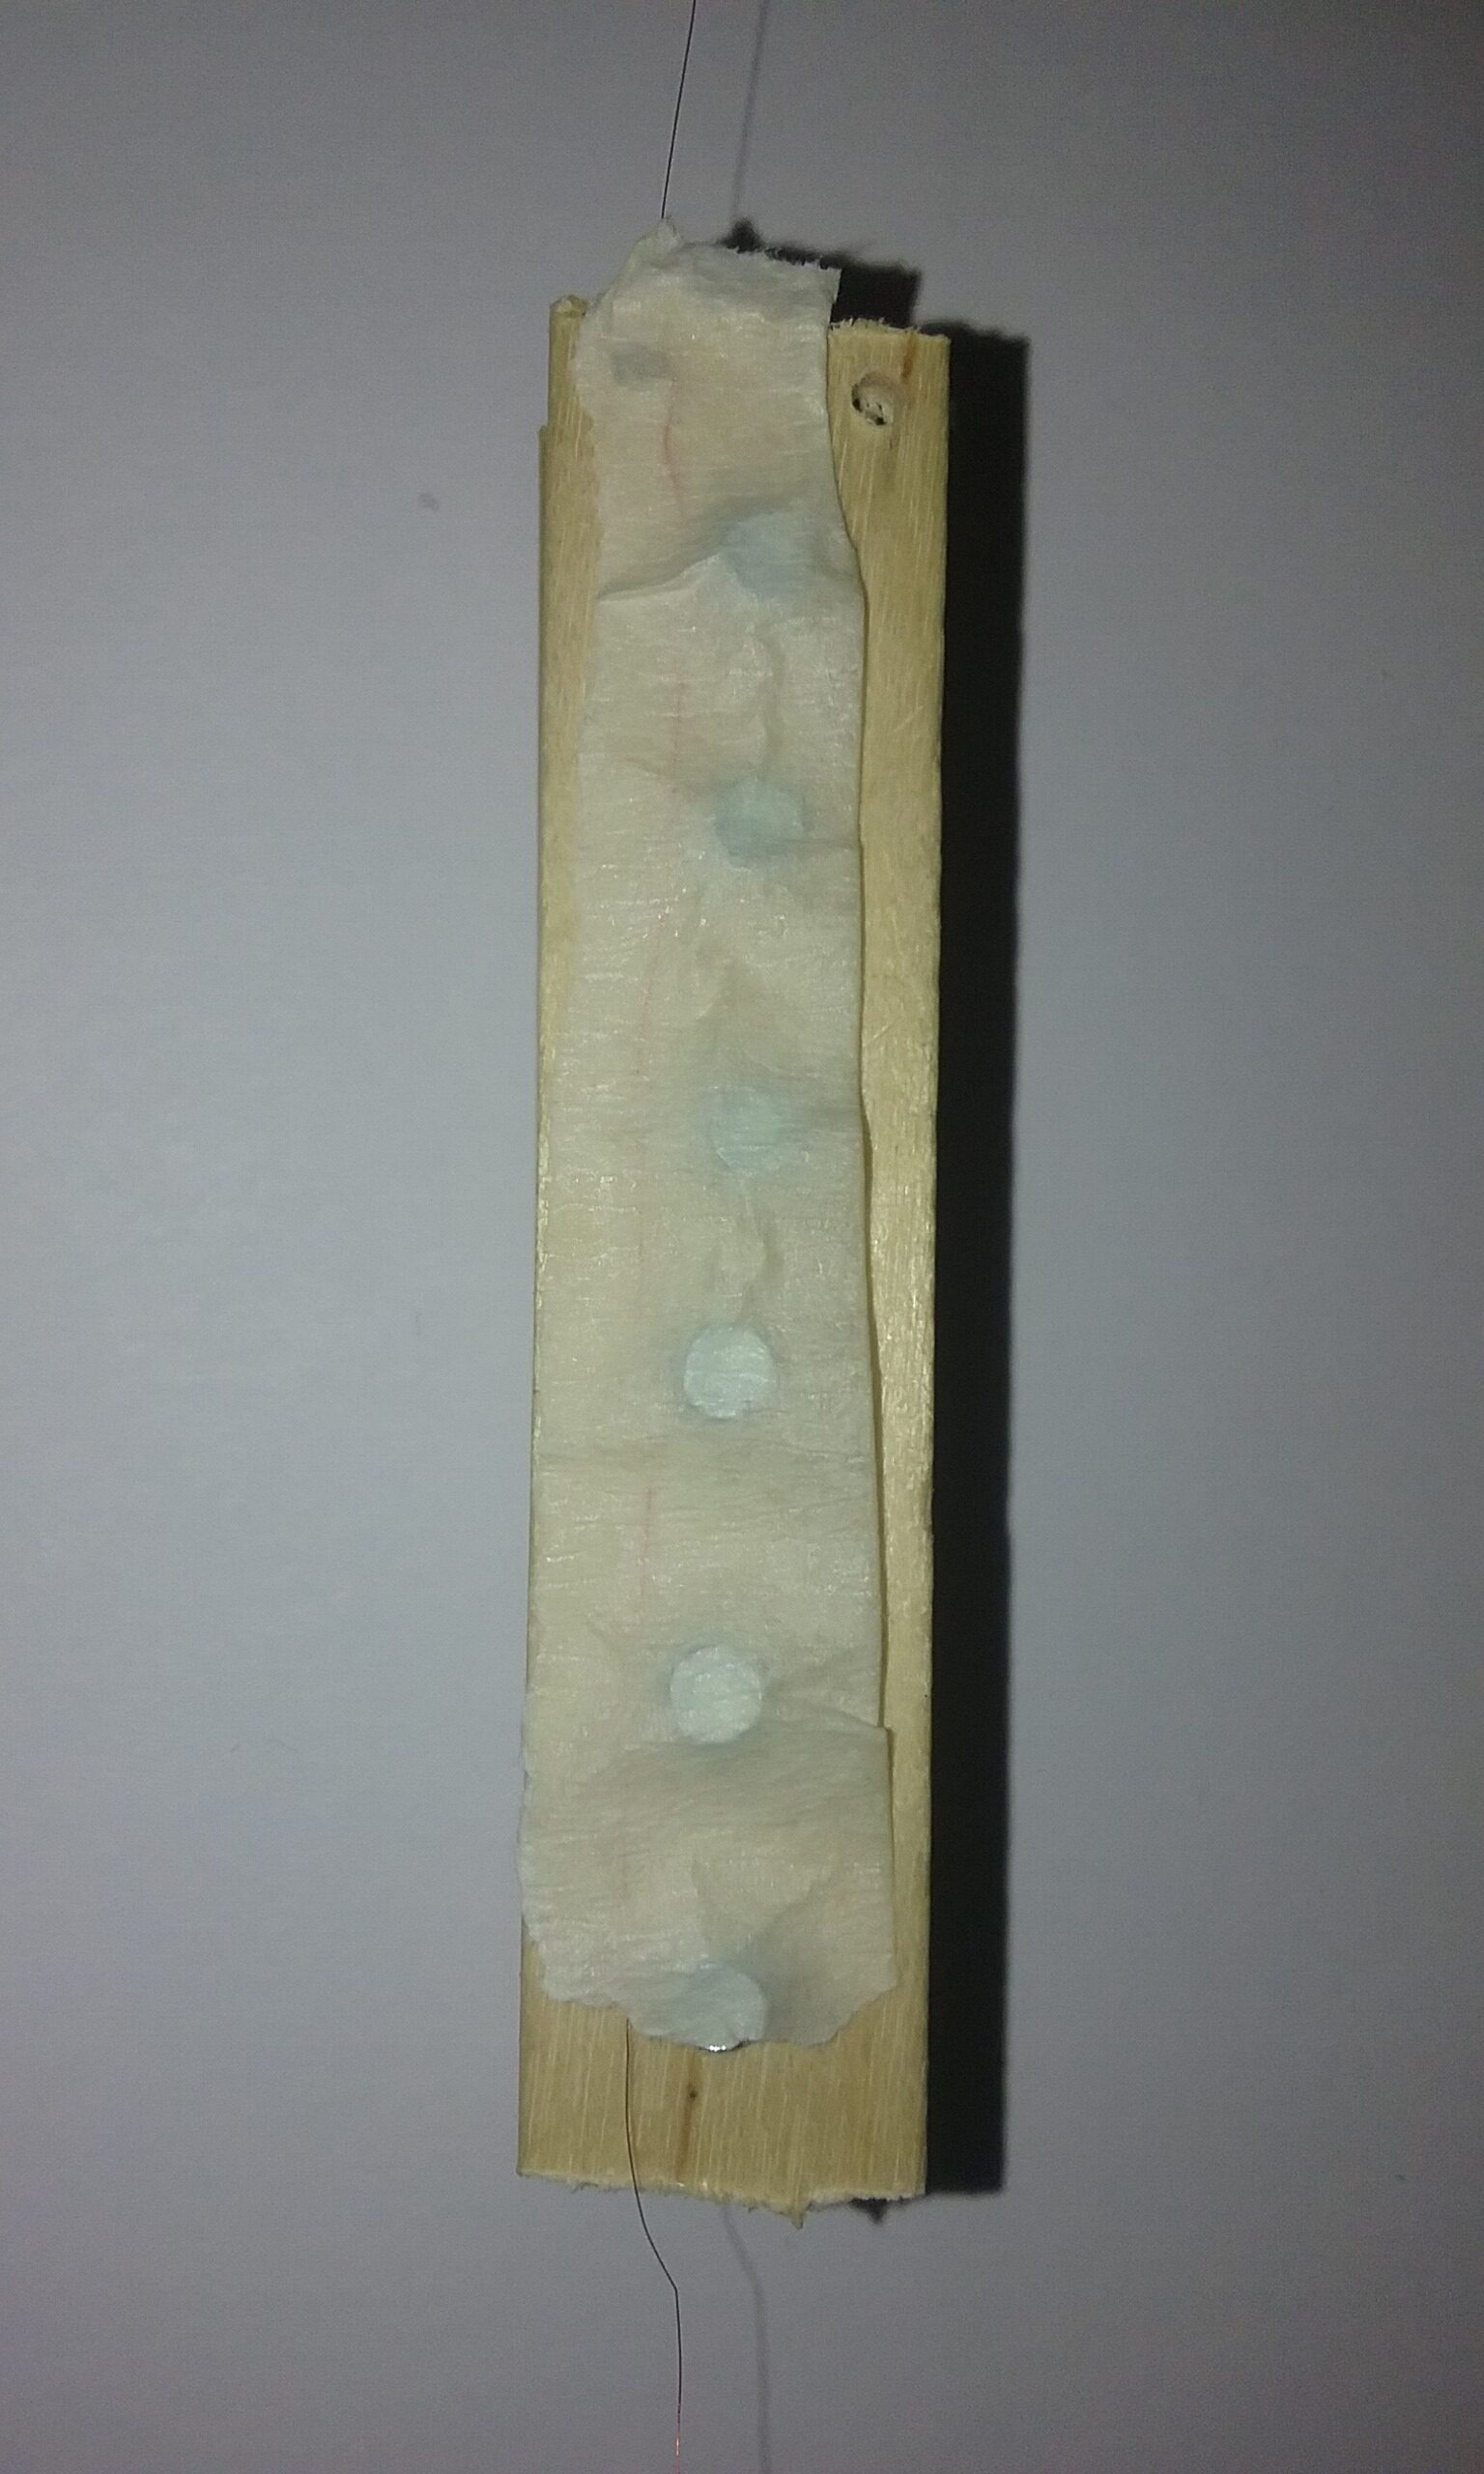
Coil Eyelets
The next thing we will need to do is make a spot to secure the ends of our coil. I very carefully drilled two small holes in the bottom piece of flatwork on each bobbin to feed the ends of the coil through. I tried to put the holes in a corner where the coil windings might not reach. Each bobbin turned out different and they look like Fig 9 and Fig 10.
Fig 9
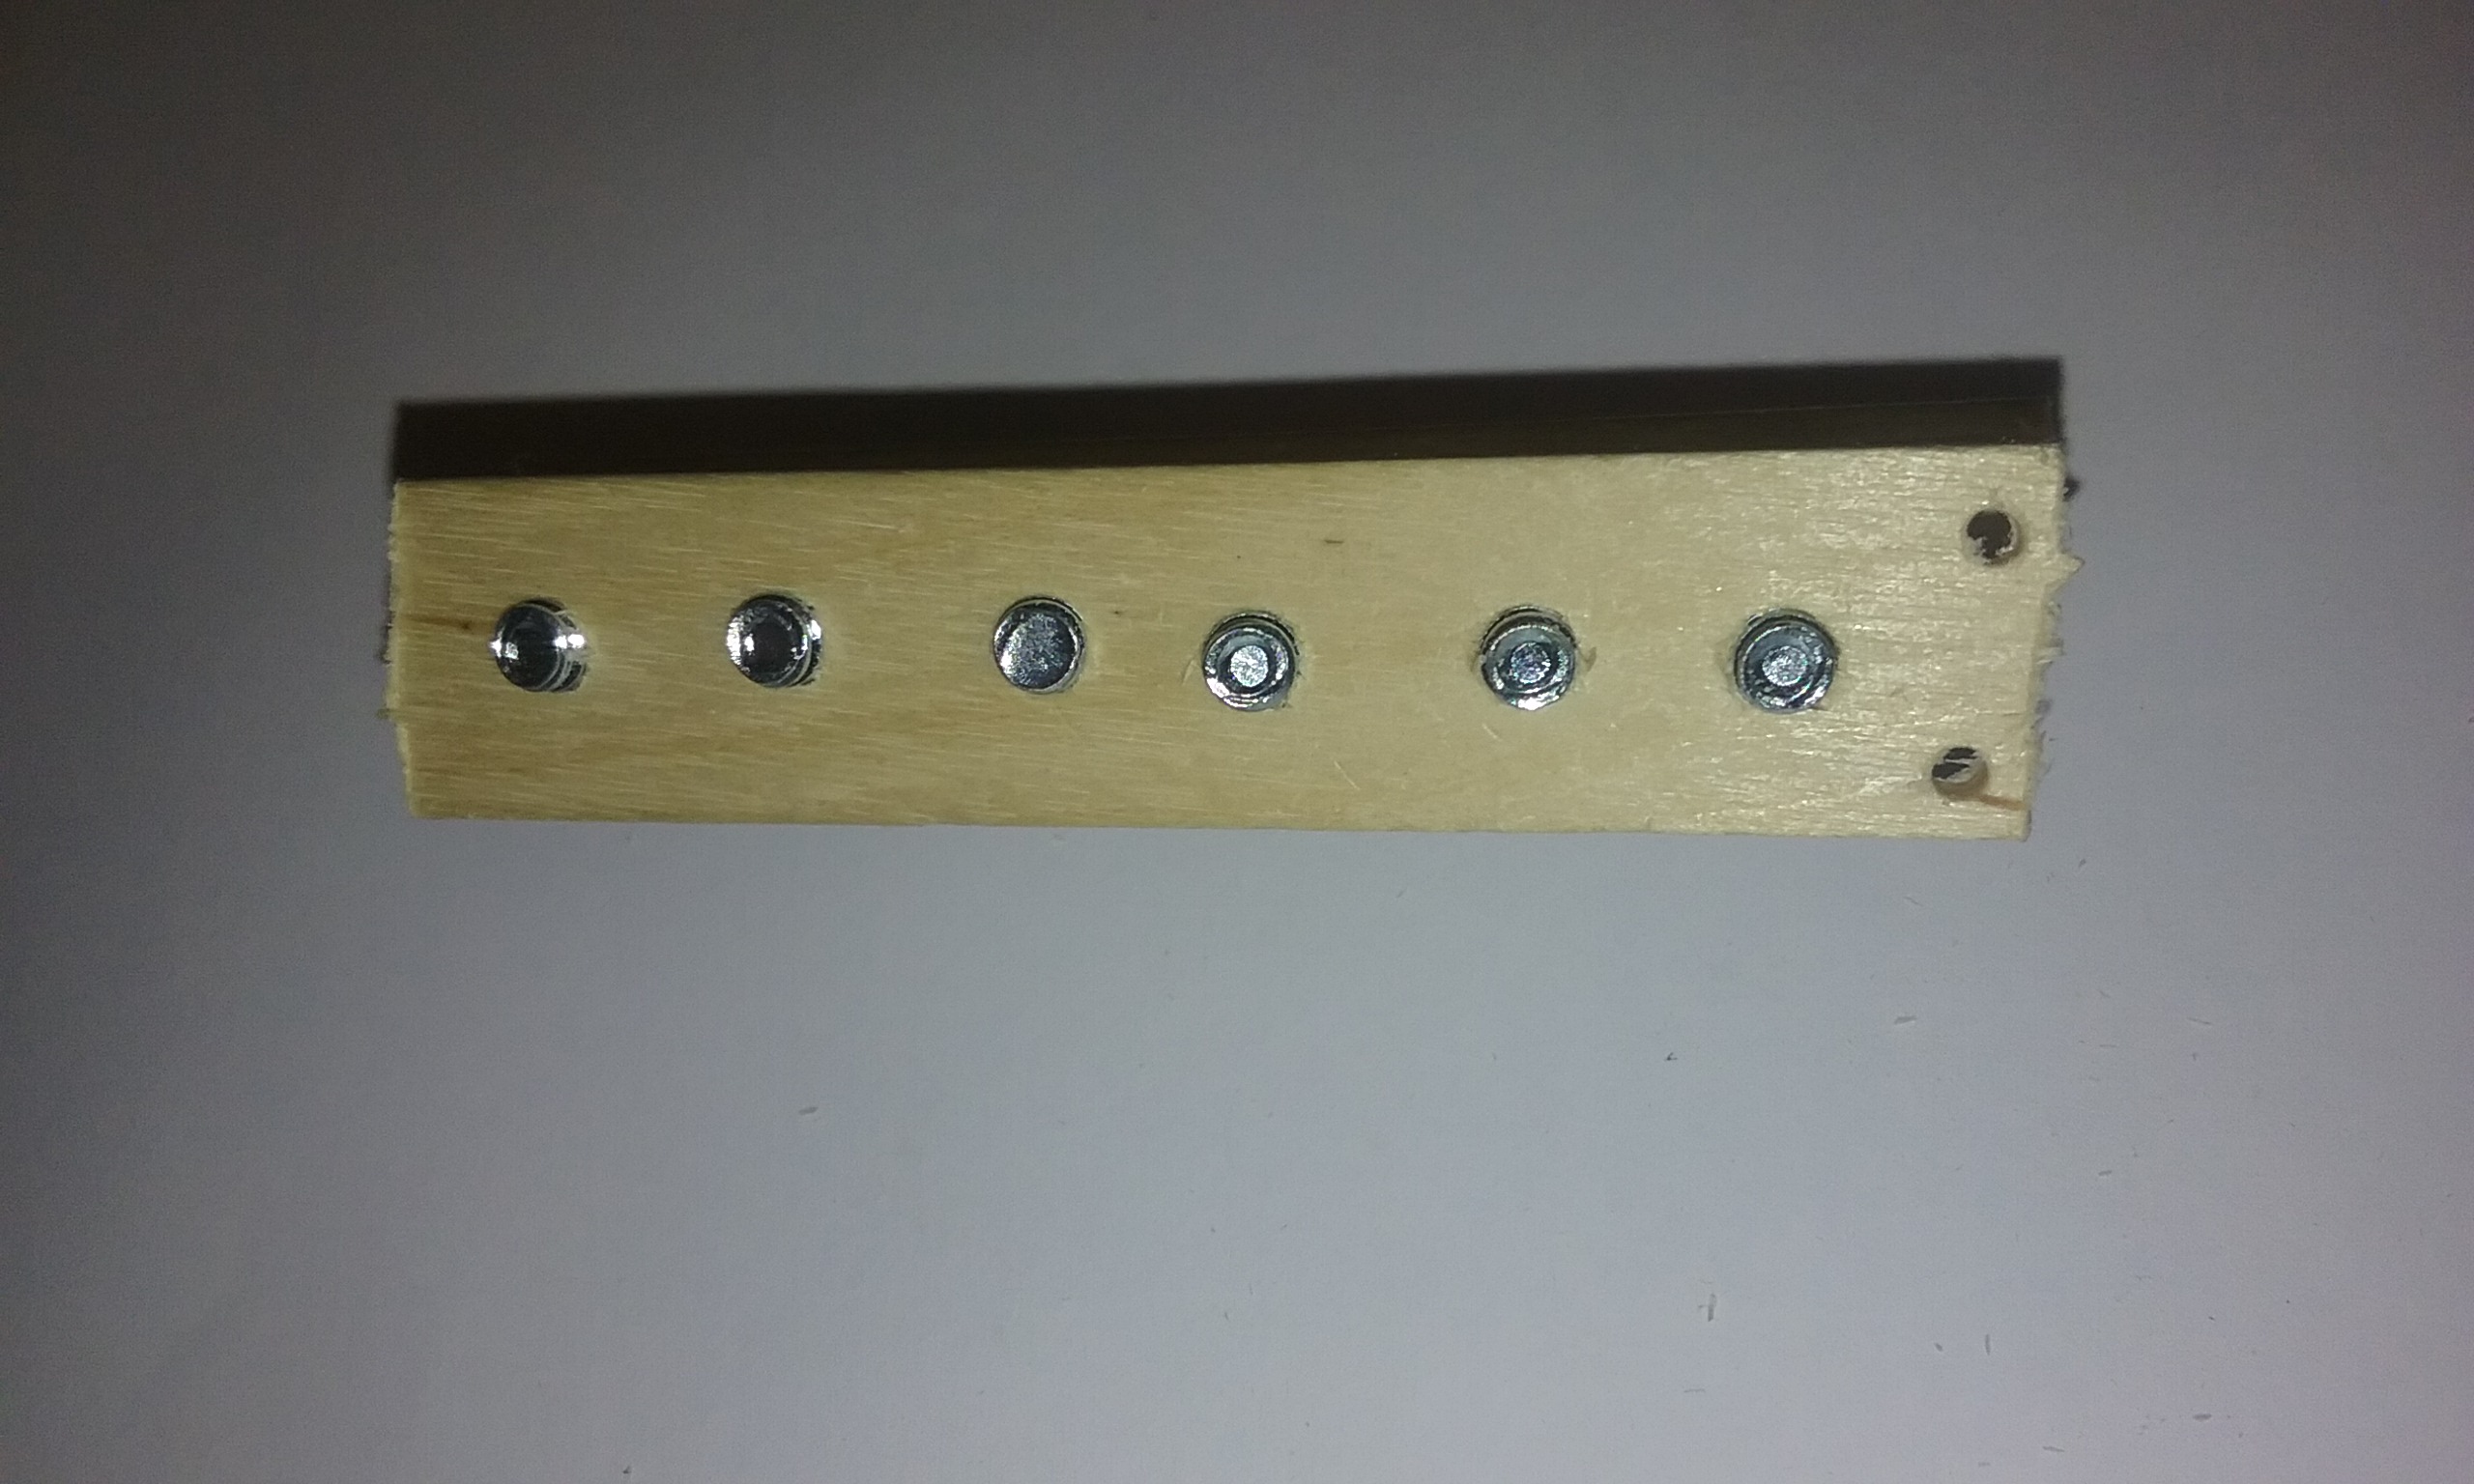
Fig 10

Once you have these holes drilled, your bobbin is complete. You might notice that these bobbins are very similar to the single-coil bobbin that we built in the last article. The only difference is that in the last article, the single-coil bobbin had a way to attach the coil directly to the guitar, but in this case, we will be placing our two single coils in a base that we will build later.
Coil
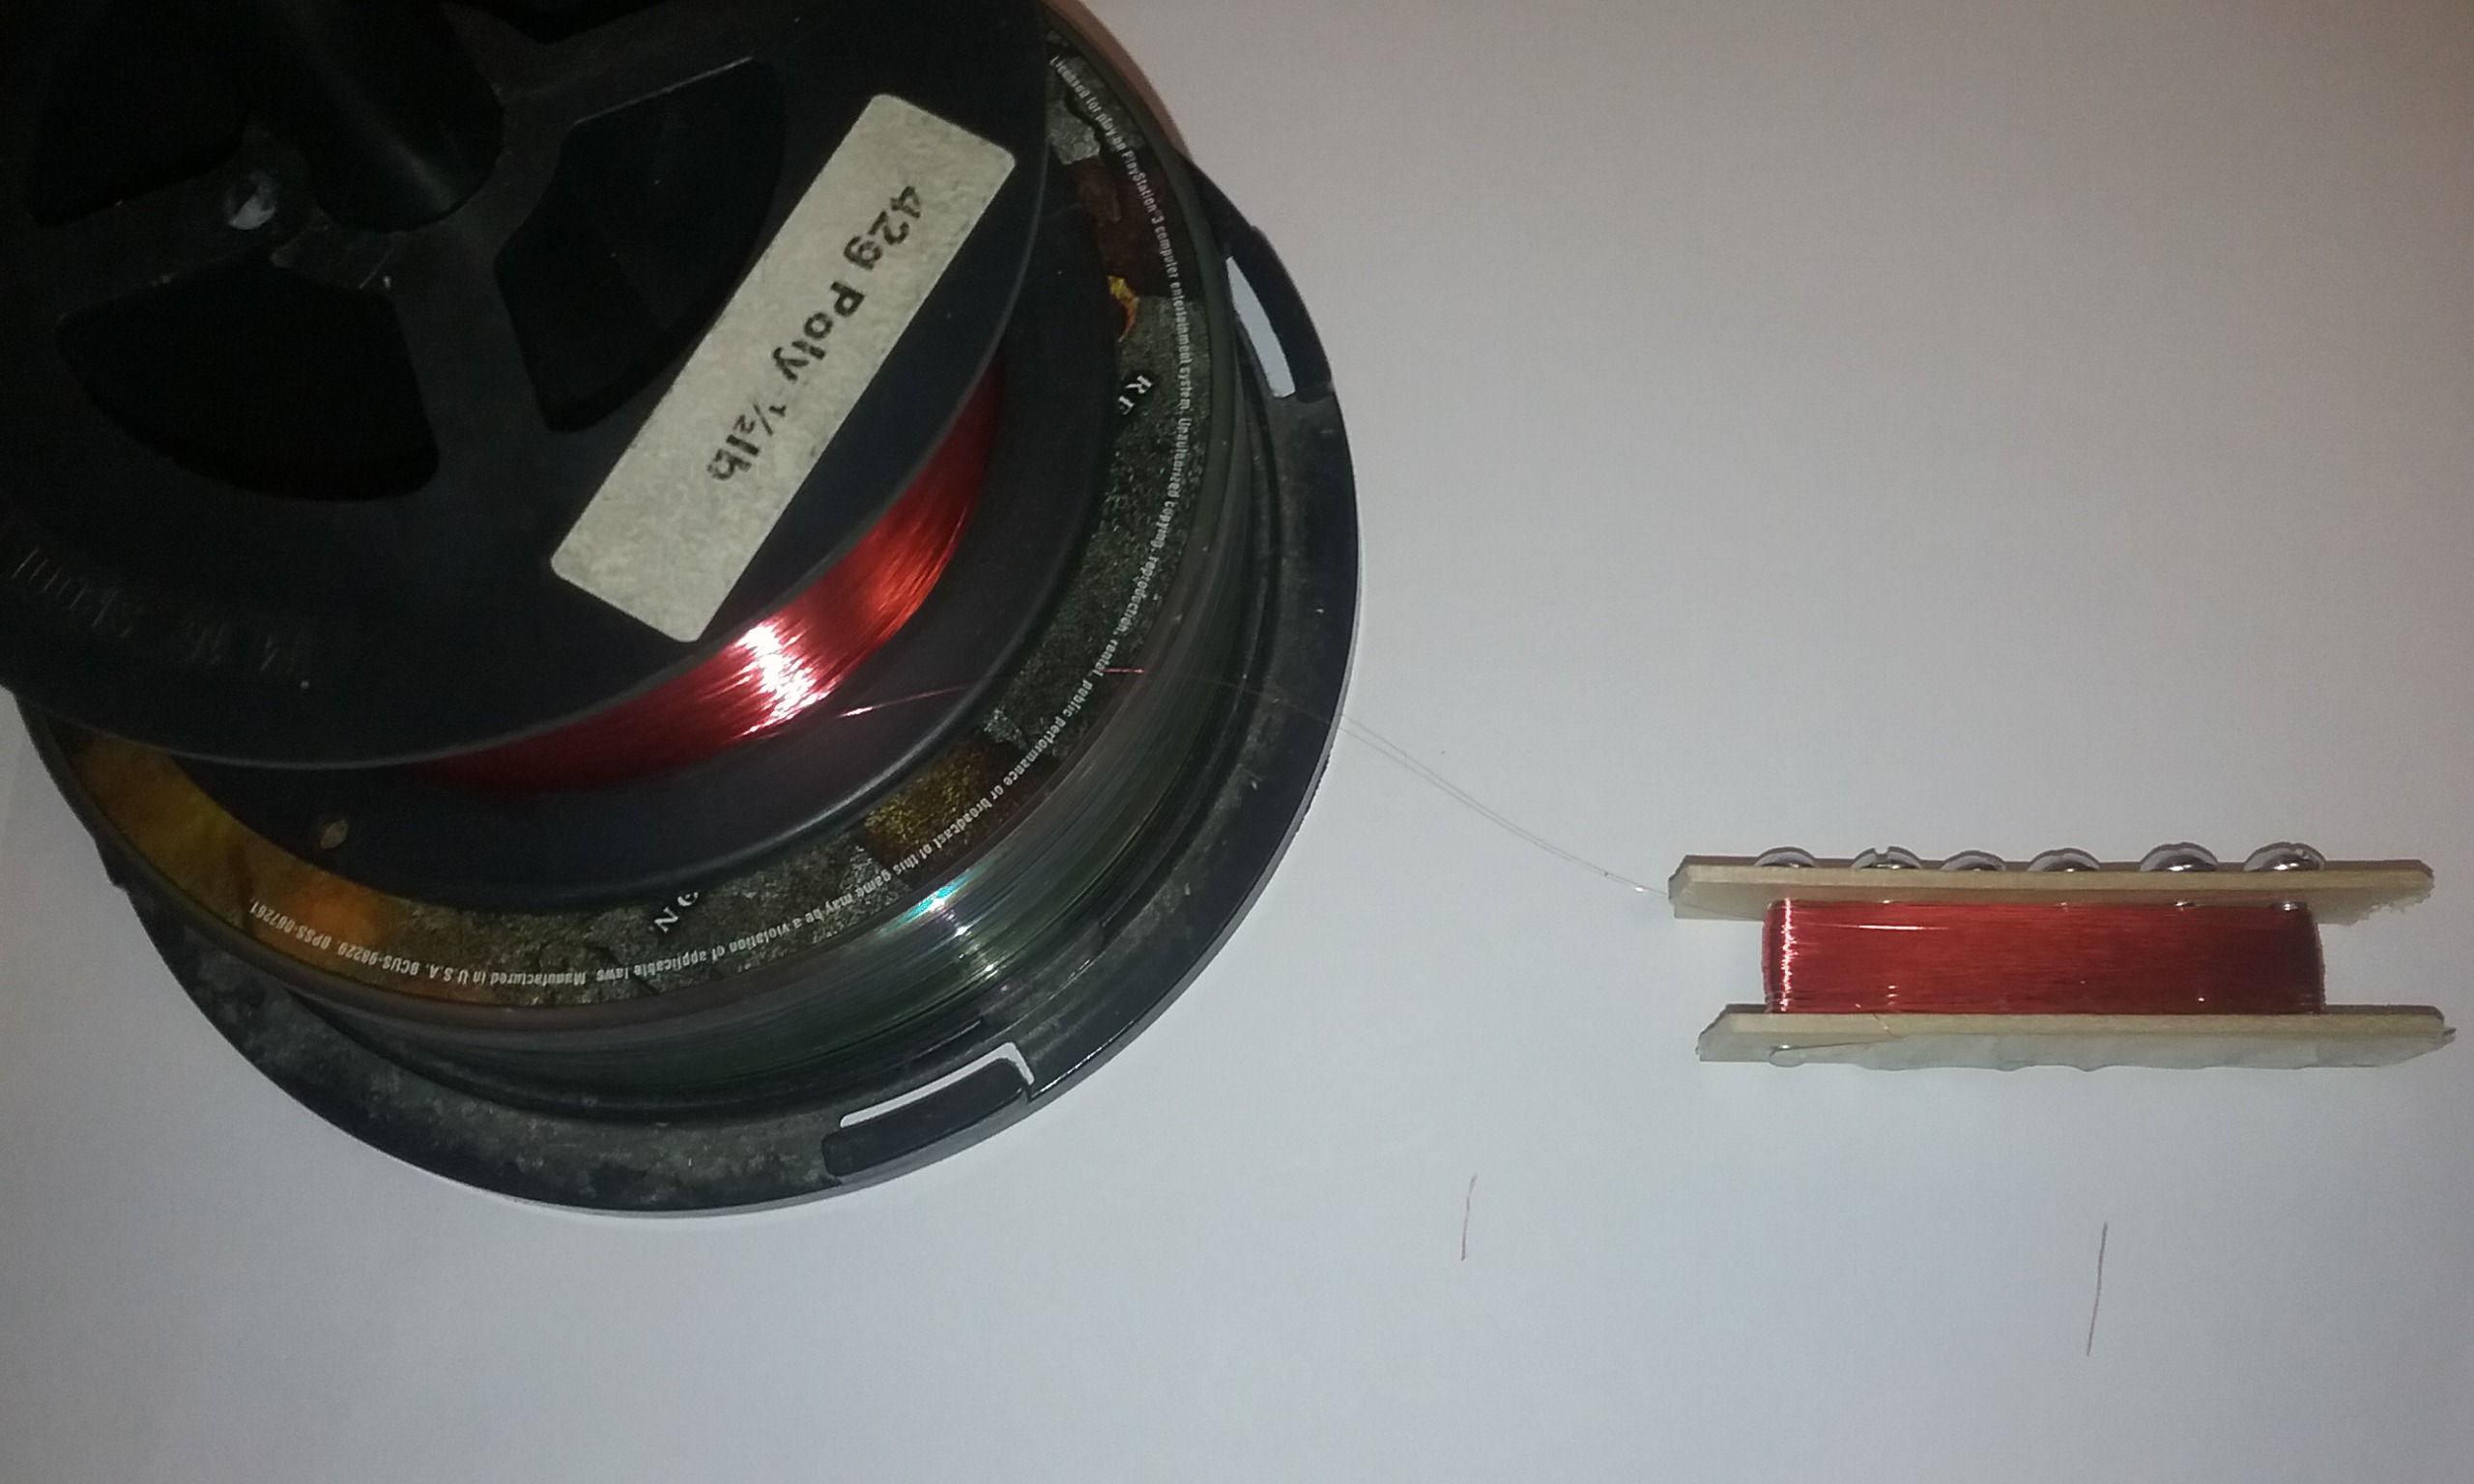
Now it’s time to start winding our coil. I use a 42-gauge poly-coated wire (Fig 11), but you can use any of the many types of insulated wire that are available.
Fig 11

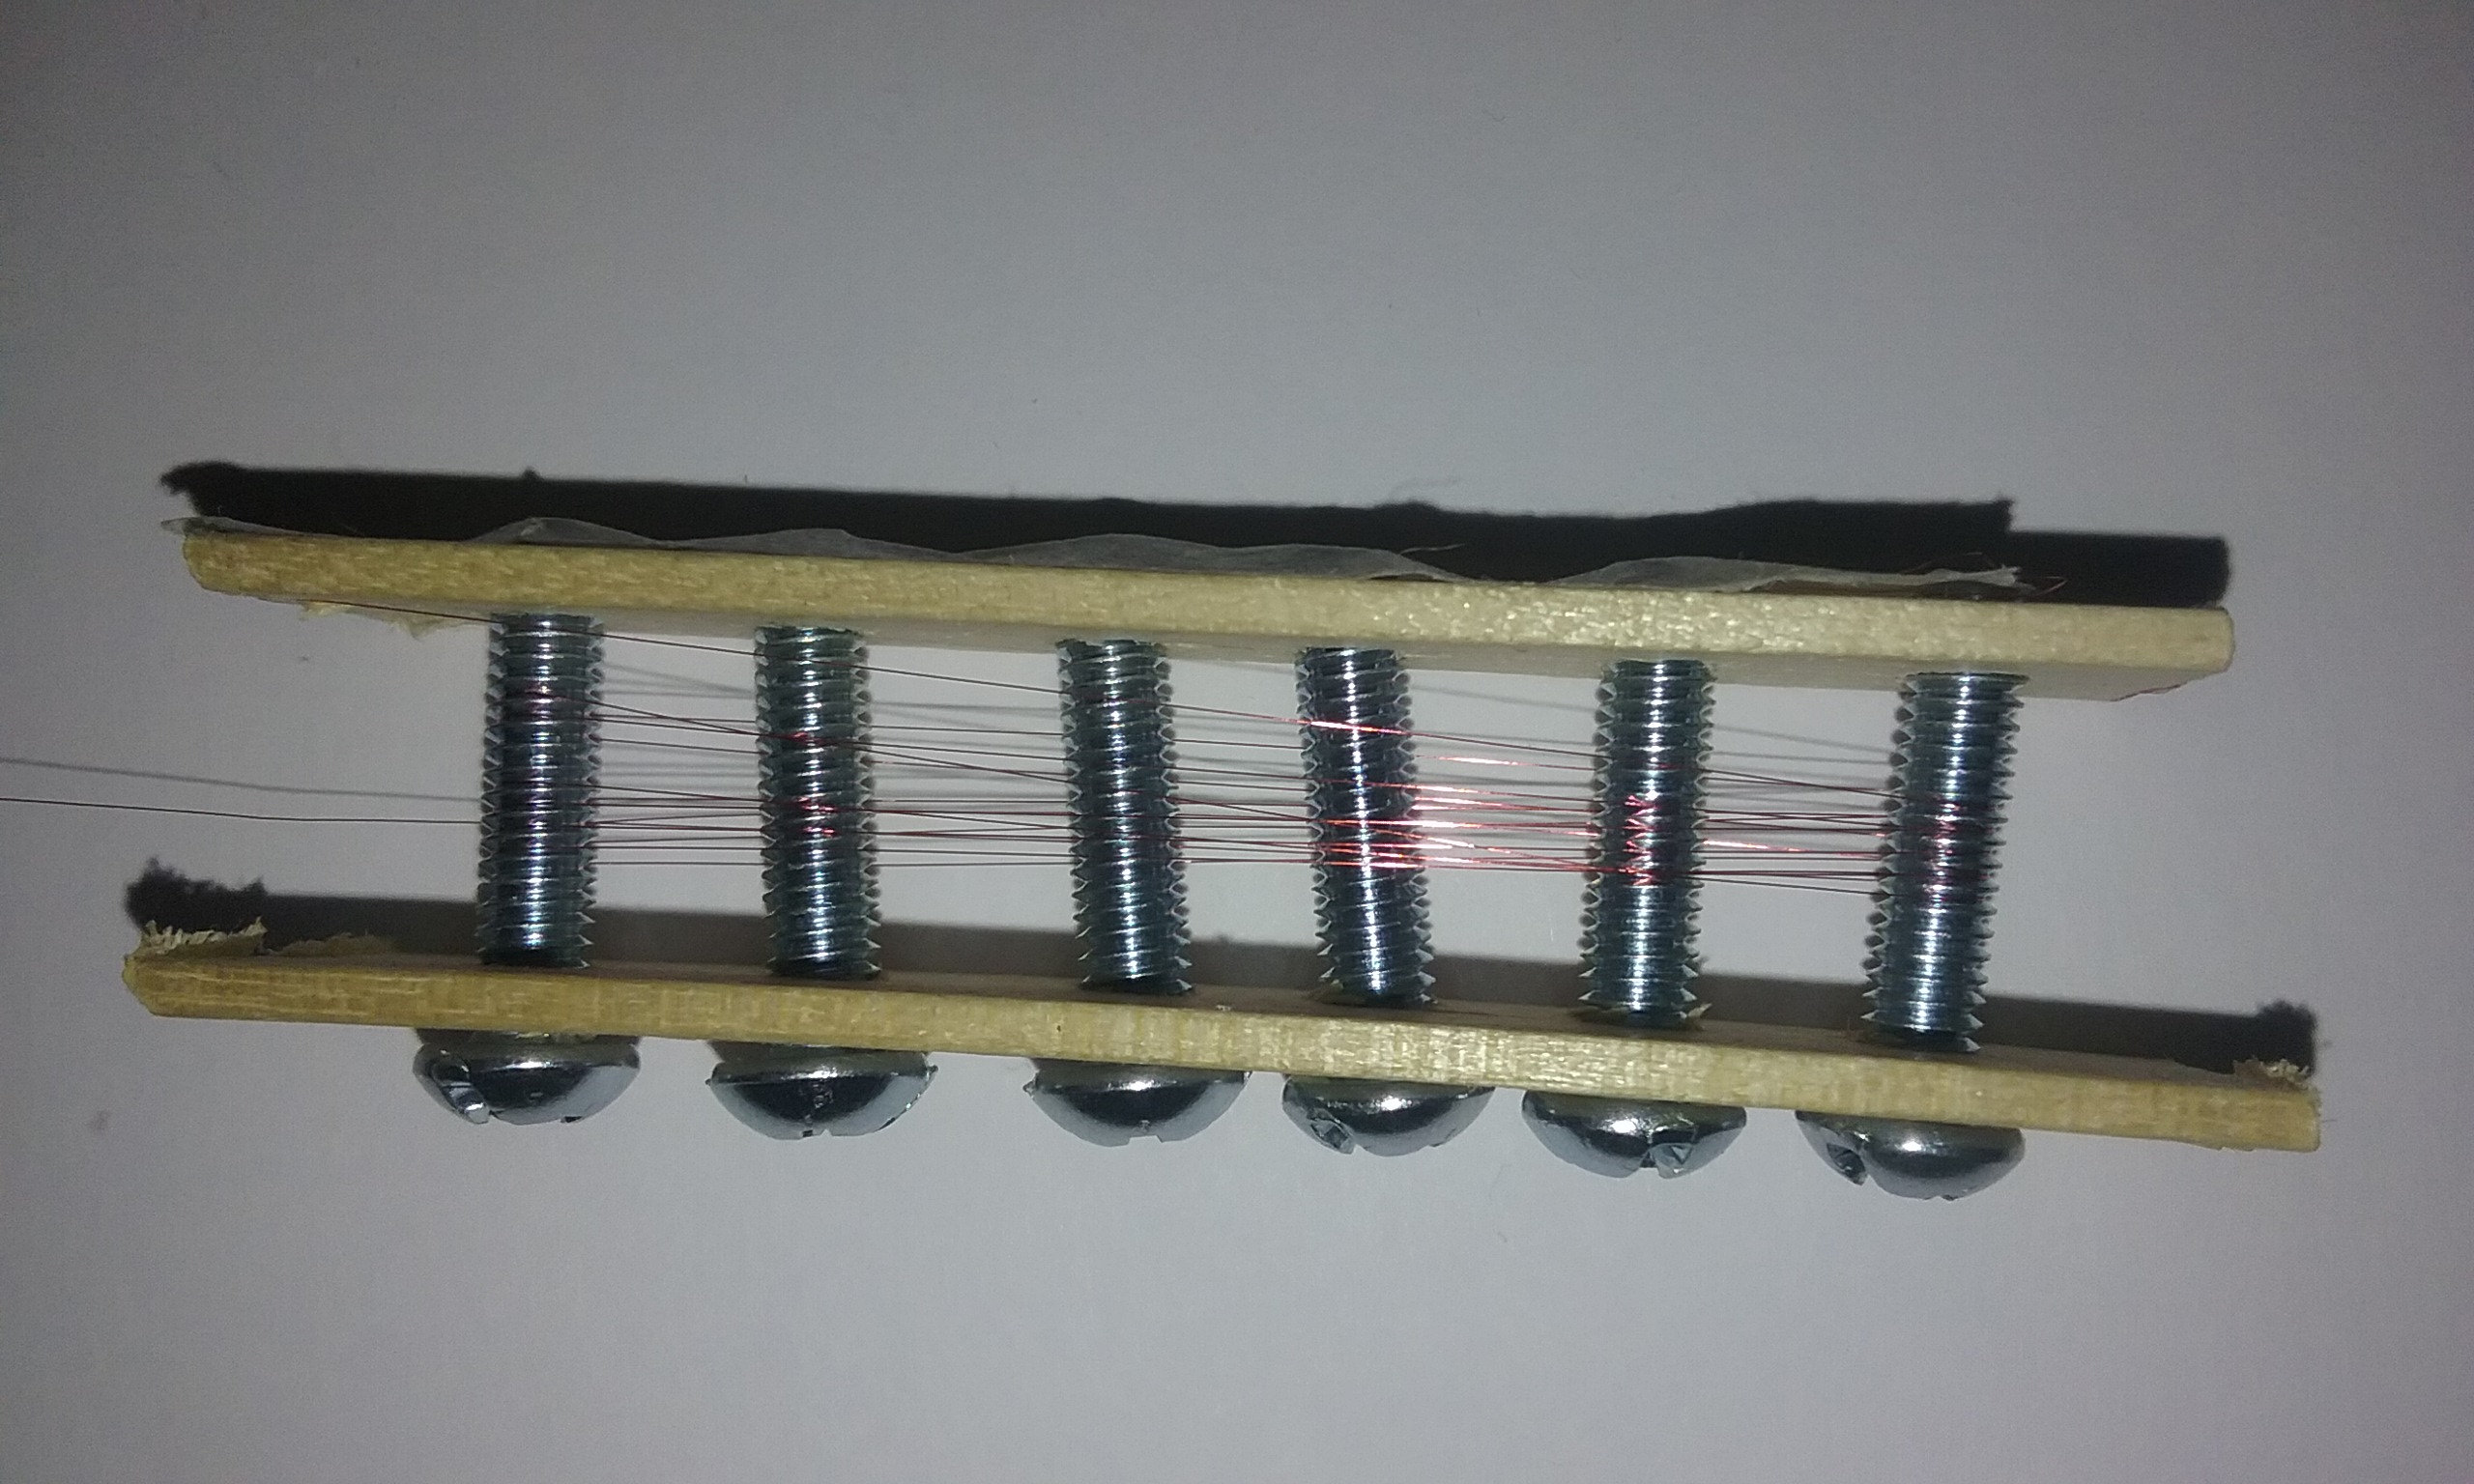
Attach the Wire
Start by feeding the end of the wire through one of the eyelets that you created and tape it to the bottom of the pickup for now (Fig 12 and Fig 13).
Fig 12

Fig 13
Wind the Wire
I have found that the easiest way to wind the coil is to place the spool of wire on a CD spindle, so it turns easily. We want to wind one of our coils in a clockwise direction, and one in a counterclockwise direction. (Fig 14)
Fig 14
This is what it should look like after a few turns. (Fig 15)
Fig 15
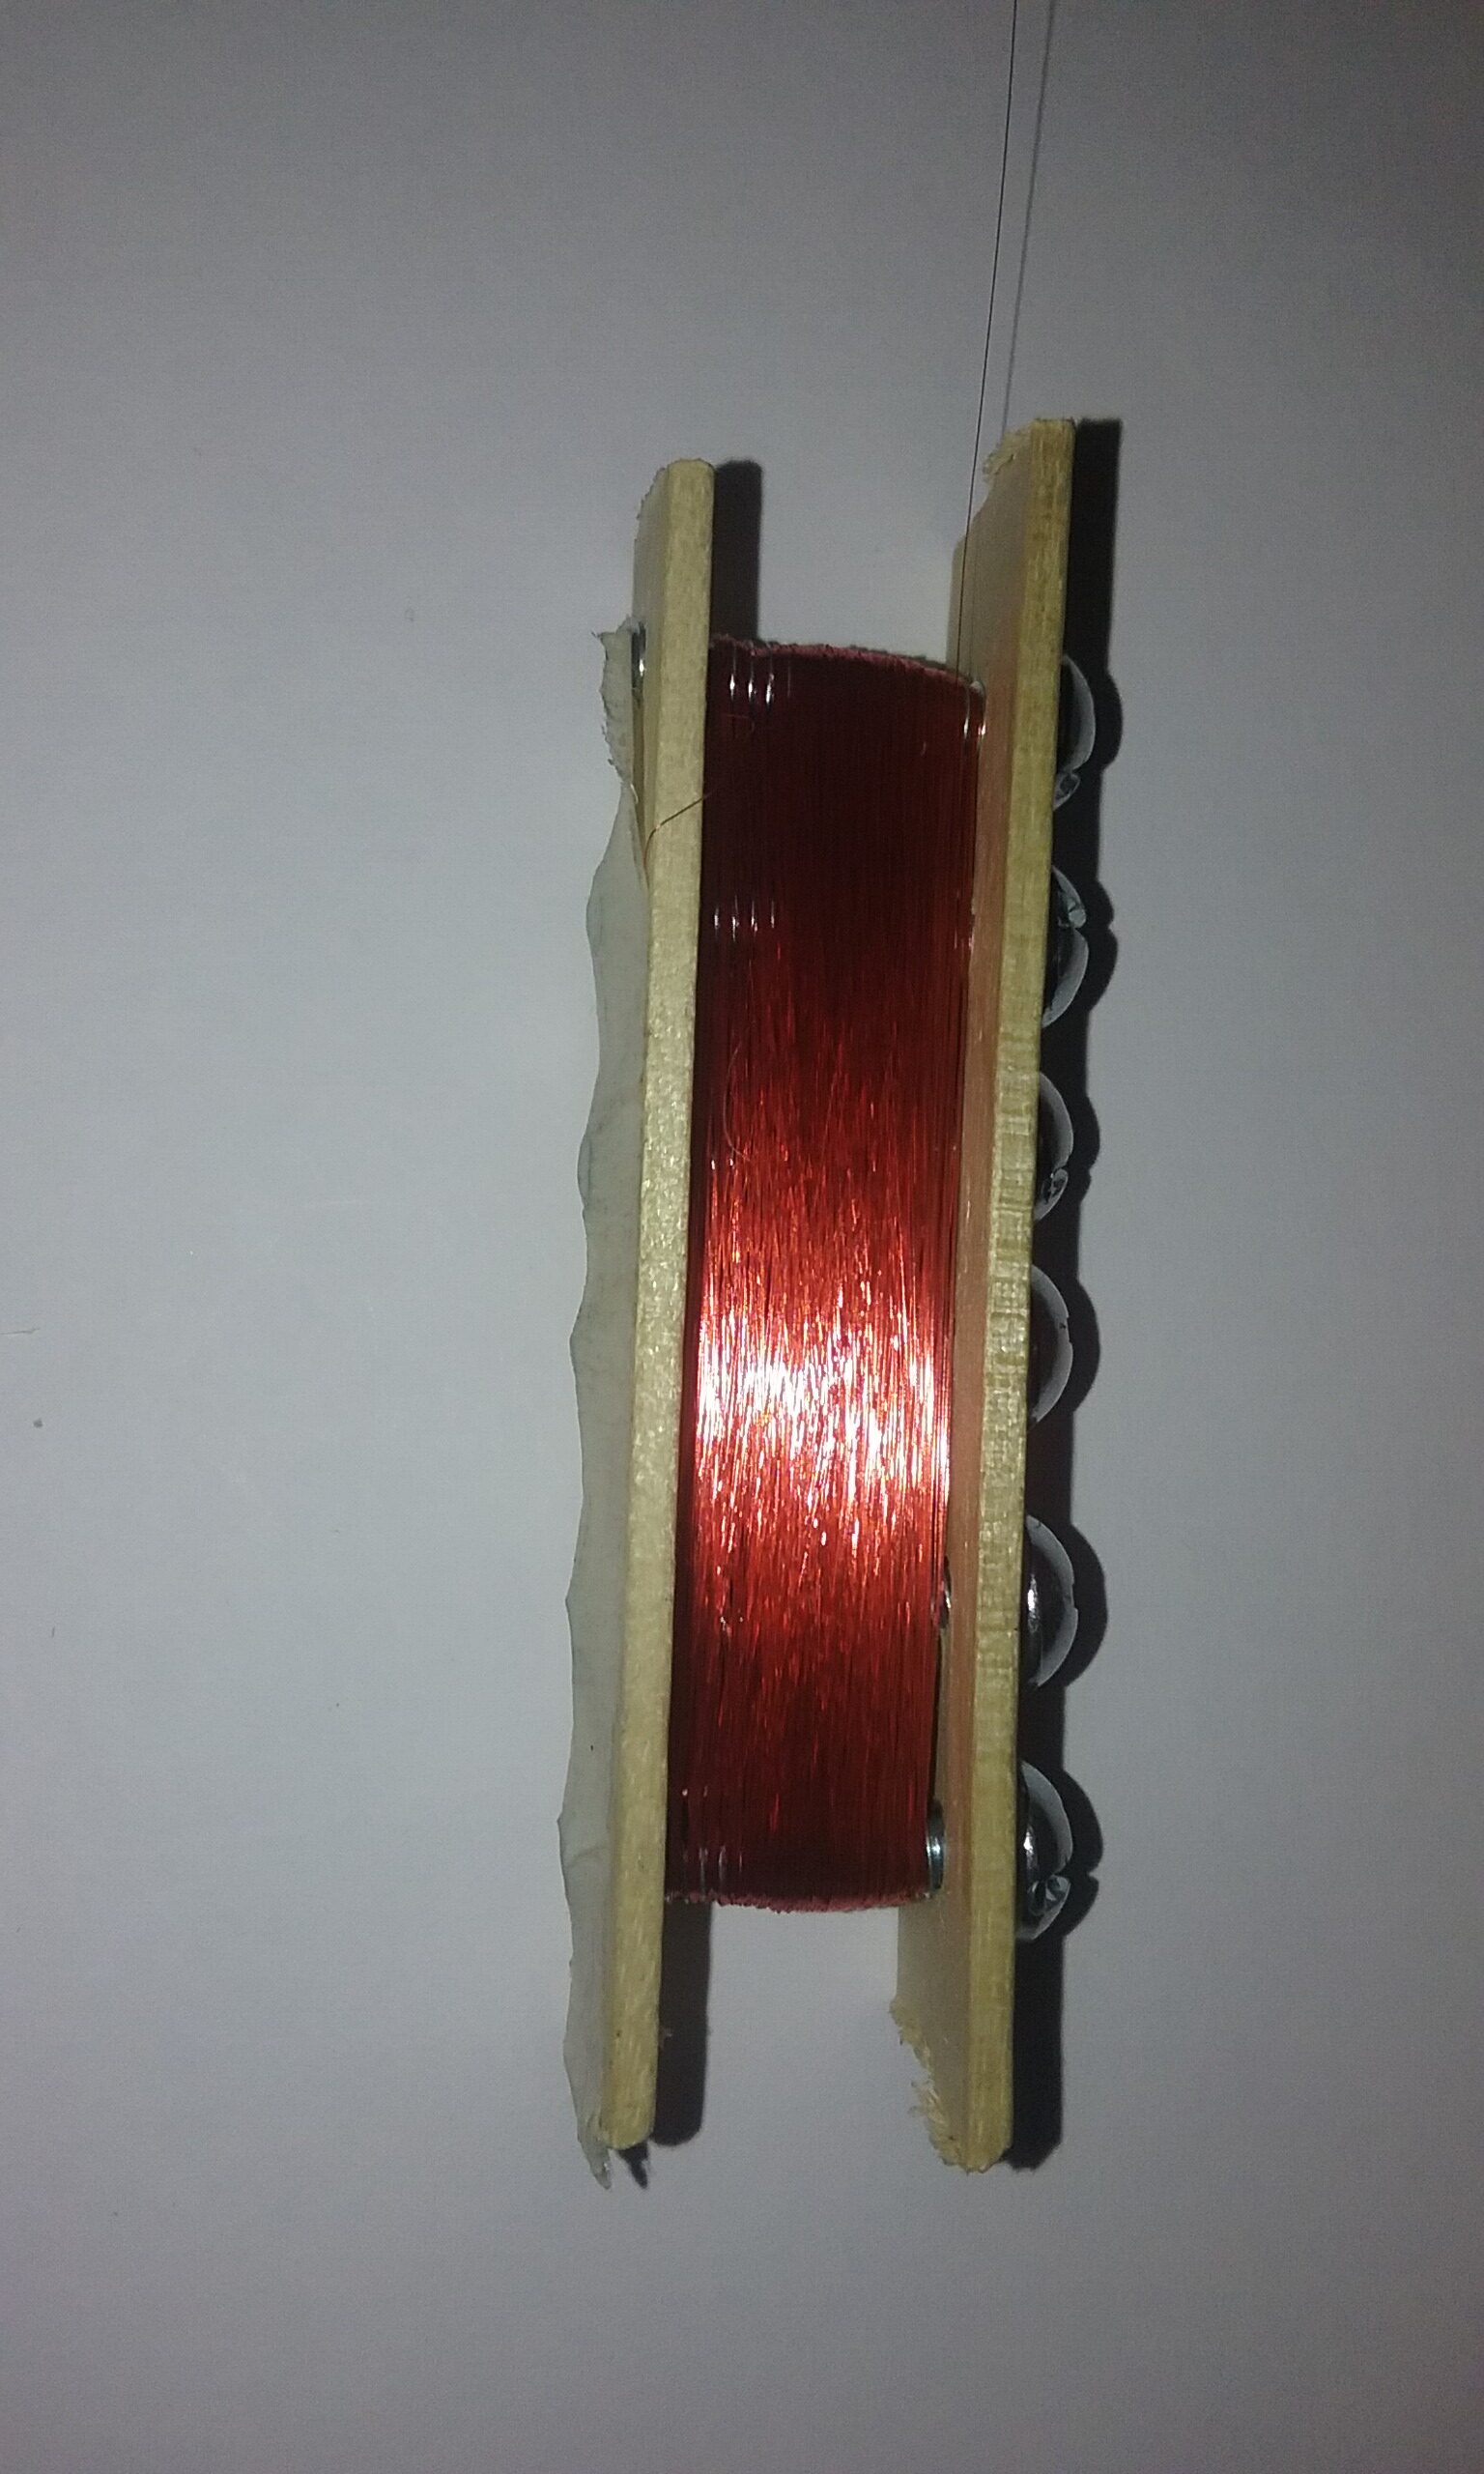
This is what it looked like after about two hours of winding. (Fig 16)
Fig 16
For this example, we are not going to worry about the exact number of turns that we wind; we are just going to wind as much coil as we can around the bobbin, while trying to ensure that it doesn’t bulge beyond the flatwork. And finally, for this stage, we’ll want to place both coils right next to each other, while ensuring that they don’t touch.
So, that’s going to be it for this article, but in our next one, we’ll wind the two coils, test each, and build their base, before installing our homemade humbucker into our guitar.
Great start… see you next time!
Making Double Coil Guitar Pickups – FAQ
How do guitar pickup coils work?
Guitar pickups work by placing a coil wire inside of a magnetic field. A disturbance to the magnetic field, such as the plucking of one of your guitar strings, creates a voltage in the copper coil. This voltage is sent to you your amplifier and translated into your sound.
How do you wind a pickup coil?
Most factory pickups are wound on machines that are specially designed for guitar pickups. These machines can keep an accurate count of the number of turns on each pickup, and keep the tension and winding pattern consistent. These machines allow a manufacturer the ability to make the same pickup over and over again. We will be winding our own pickups by hand.
How do you wind humbucker pickups?
A Humbucker pickup has two coils. One coil is wound in a clockwise direction and one coil is wound in a counterclockwise direction.
What is the difference between humbucker and single-coil?
Single pickups are known to have a clean and crisp sound that is very bright, while humbucker pickups are a little warmer and smoother sounding.
Do all pickups fit all guitars?
Unfortunately, no. There are a lot of commonly accepted standards, so most pickups will fit most guitars, but not every pickup will fit every guitar.
What gauge wire is used in guitars?
The most common gauge of wire used in guitar pickups is 42. Some pickups use a 43-gauge wire, to get more windings on the pickup. The other type of wire that connects tone pots and switches is usually 22-gauge. There is very little current in a guitar, so a very small wire can be used.