By Ed Malaker
Posted 07/19/2022
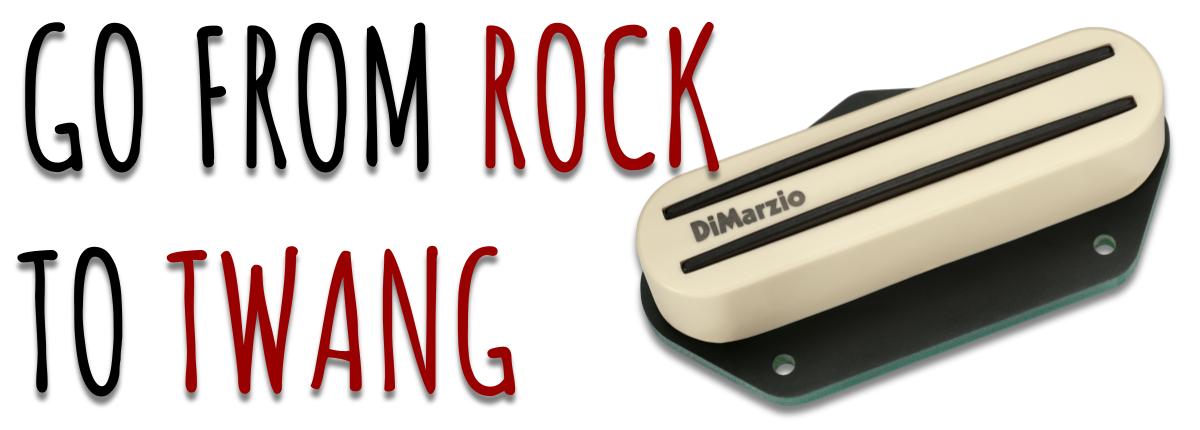
In this article, we’ll provide a diagram that demonstrates DiMarzio Tone Zone Tele Bridge Coil Splitting. The DiMarzio Tone Zone T is a mini-humbucker designed to fit into a single coil spot. It’s wound to replicate the tone of the standard size Tone Zone perfectly. It provides a rich, clear tone that cuts through without becoming shrill.
Despite the great tone these pickups produce, it’s not uncommon to seek the original Fender Telecaster single-coil tone. To do that, we need to add the coil splitting modification.
What is Coil Splitting?
Coil splitting is when you use a toggle switch to turn off one of the coils. This turns it into a single-coil. The output will drop off significantly, and you will also notice an increase in hum. The DiMarzio Tone Zone T pickups split well and aim to sound like the stock pickup in a Fender Telecaster.
Tools Required
This guide assumes you already have the pickup installed into your guitar, and you only seek to add the coil splitting modification, therefore, very few tools are required. If all four wires are not easily accessible from inside the component compartment, you’ll need to remove the bridge plate to access the wires that are tied together, so you’ll need a screwdriver to remove the cover. You’ll also need a soldering iron and a small amount of solder.
We also recommend using a push-pull pot for your toggle switch. You can convert either your volume or your tone control into the push-pull component. We recommend converting the tone control, however, because there are fewer wires connected to it.
Converting the Pots
To convert to a push-pull pot, you need only remove the control cover plate of your Tele and switch the components. Both components are soldered the same way. Use care when disconnecting the stock tone control; remember where the wires go or use the following illustrations as a reference.
In Example 1, we illustrate a standard Tele wiring diagram, using a standard potentiometer.
Example 1

In Example 2, we illustrate a standard Tele wiring diagram using a push-pull potentiometer.
Example 2
Completing the Modification
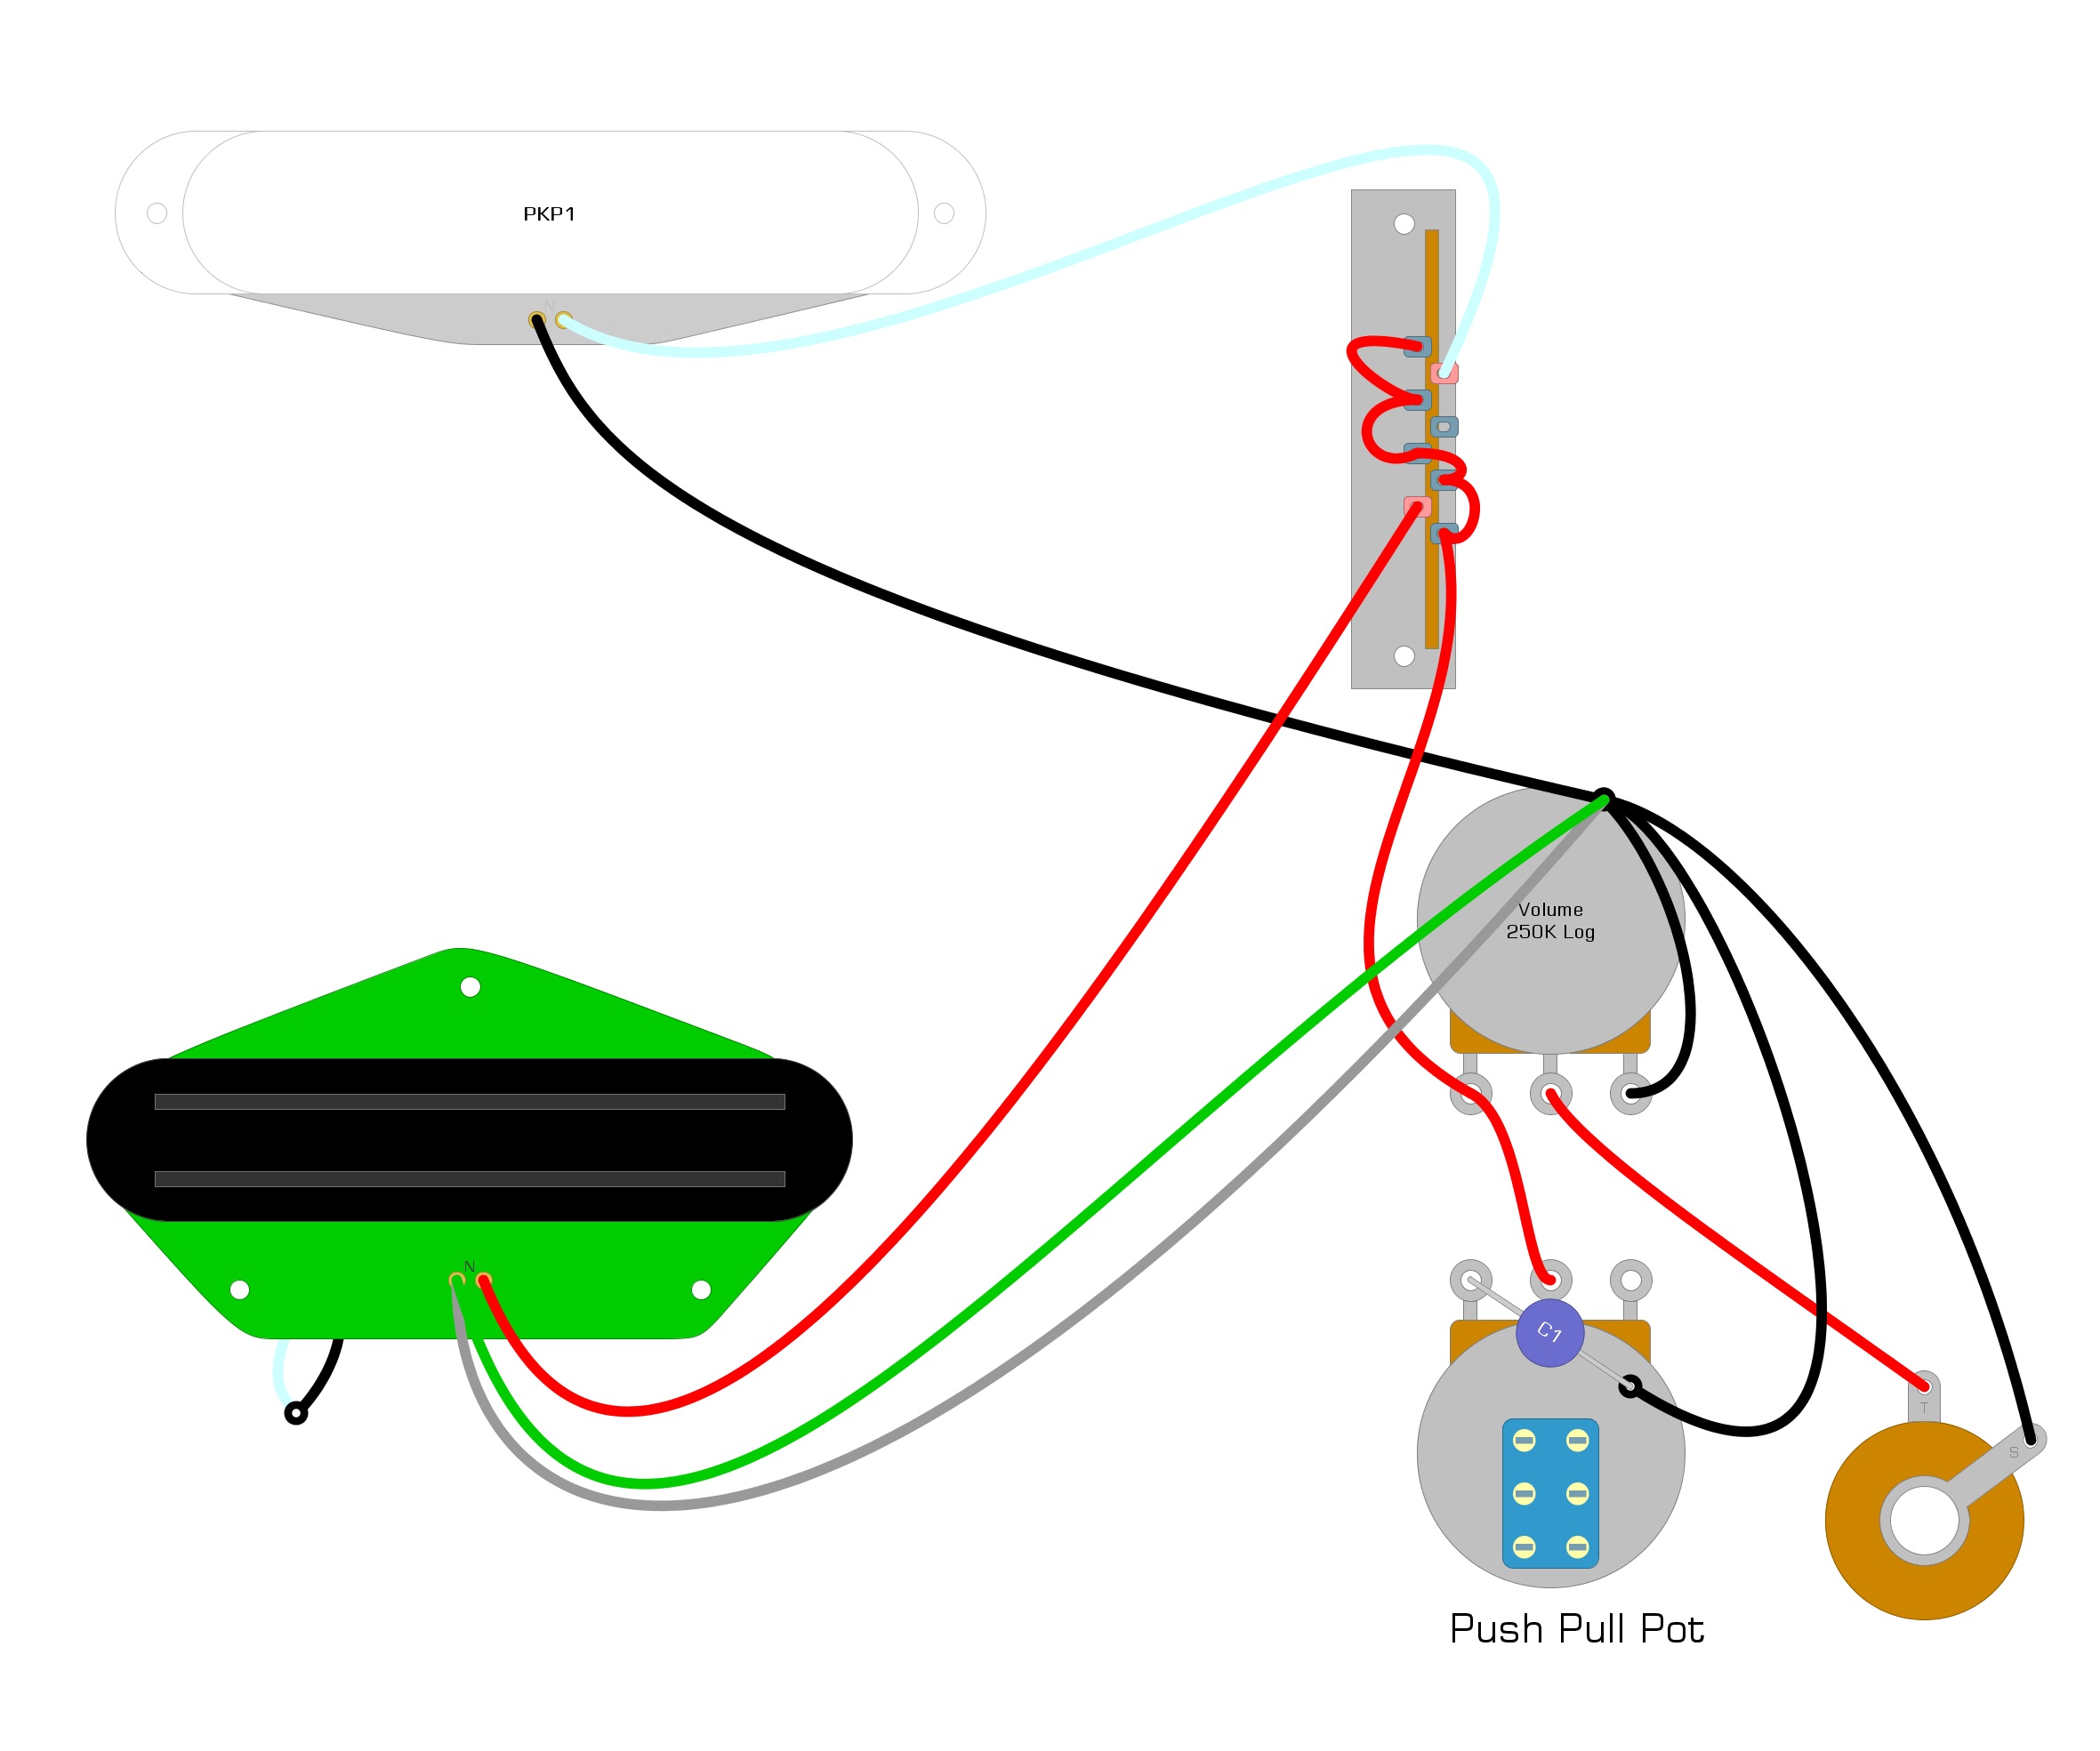
With the push-pull pot in place, we can install the modification by connecting the white and black wires of the DiMarzio Tone Zone T pickup. We do this by connecting them to one of the lugs of the push-pull pot switch mechanism. We also need to add a short ground wire from the switch mechanism to the casing of the tone control, as we see in Example 3.
Example 3

Summary
With this modification in place, pulling your tone control out will cause the switch to become active and send part of the pickup signal to Ground. This will short it out and turn off one of the two coils. Pushing the tone control back in will return the guitar’s circuit to normal.
If splitting the coil gives you a tone that’s too thin, we recommend adding the Lindy Fralin Partial Tap Resistor to help give it more balance. There are plenty of other pickup modifications that can give you unique tones as well, such as wiring your pickup in parallel.
We certainly hope that you’ve enjoyed reading over this short guide, and that it’s helped you access some vintage Telecaster tones. If this article has been helpful, please feel free to share this DiMarzio Tone Zone Tele Bridge coil splitting diagram on Facebook and Twitter. And for more articles on guitar electronics, we hope you’ll check out humbuckersoup.com.


