By Ed Malaker
Posted 10/29/2020
When it comes to guitar shielding, the two most common methods are paint and tape. Both approaches are relatively inexpensive, and there are many brands of each available. Let’s take a look at which one is better at preventing RF noise, extraneous static, and hiss in your signal.
What is Shielding?
Shielding is when you use a conductive material, usually metal, to build a cage or box. This box is then electrically connected to Ground. Doing so creates an electric barrier between the inside of the box and the outside, called a Faraday Cage. This barrier can keep things contained within the box, similar to how a microwave oven contains the microwaves inside. It can also prevent outside forces from entering the box.
In your guitar, shielding can help reduce the number of radio waves, UHF, and other types of airborne interference that guitar pickups turn into static and hiss. Shielding your guitar can be especially effective if you live in a city or similar area where there is a lot of activity that can cause RF interference. A guitar equipped with single-coil pickups will be extremely noisy and can often benefit from any help it can get.
It’s important to remember that no matter how good a job you do, shielding will only reduce the noise and can’t eliminate it, which makes many wonder if it’s worth the trouble. In some cases, the noise reduction will be noticeable, and in others, it won’t.
- Many secure buildings use Faraday cages to prevent cell phone use.
- Airplanes and automobiles are both Faraday Cages, and if struck by lightning, offer you protection.
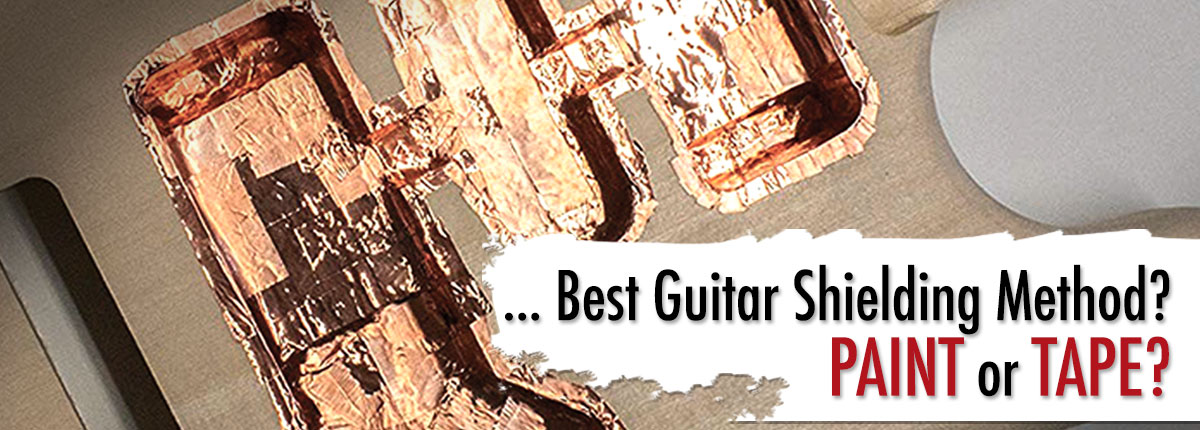
Shielding Tape
Shielding tape is a narrow strip of metal on a roll. It acts very much like ordinary tape, and in many cases, it will have an adhesive on one side to hold it in place. The tape can be any of several metals, but copper and aluminum are by far the most common. Copper tape is more expensive and often has a conductive adhesive. Aluminum tape is cheaper, but the adhesive may not be conductive and could break a continuous connection. You can use either type with care, but the copper tape is the better choice.
Since the tape is solid metal, it’s more conductive than paint. Even powdered, copper is more conductive than the graphite typically found in paint and you can remove the tape if you want to at a later date. Some players prefer the shiny look of the tape over the (usually) black appearance of paint.
Pros
- Very conductive
- Shiny appearance
- Removable
Cons
- Hard to apply
Shielding Paint
As with tape, there are several varieties of shielding paint available. Look for it under the name conductive paint, and you will see that most brands use either nickel or graphite mixed with some type of glue to create the paint. The main benefit of using conductive paint to shield your guitar is that it’s easy to apply. There’s no precision cutting or careful folding. There’s no need to worry about conductive adhesive; simply paint it on and let it dry.
Conductive paint may not be as conductive as solid metal, but there’s no evidence that it needs to be. It is more expensive than tape, and once you apply it, you won’t be able to remove it. Some players don’t like the black look, and even if they come in other colors, they look flat and sometimes messy.
Pros
- Easy to apply
Cons
- Expensive
- Permanent
- Less conductive
Summary
We have to say that when considering either paint or tape for guitar shielding, the tape gets to take home the victory — specifically, copper shielding tape with a conductive adhesive. We’re not saying that shielding paint isn’t useful, but in our guitar shielding paint/tape experiments, we found that they both work at about the same capacity, but the tape is just more convenient. Whether you use paint or tape, you need to connect it to the back of your volume pot with a wire.
We hope you’ve enjoyed reading, and that we’ve helped you learn a little more about the difference between these two shielding products. If you’ve found this article helpful, please feel free to share this guide on Facebook and Twitter. For more articles on guitar electronics, visit humbuckersoup.com.


