By Ed Malaker
Posted 11/13/2019
Recently, someone asked me how to coil split a humbucker pickup, saying that he could find plenty of wiring diagrams online on how to split the pickup, but was unable to find one for his specific guitar and pickup combination.
As I was thinking about how to help this reader, I realized I could answer this question by giving a broader explanation: how to coil split a humbucker in ANY guitar with ANY brand pickup.
Coil splitting is perfect for anyone who wants to access Strat or Tele-like single-coil sounds while keeping their double coils intact. It’s a classic mod for anyone with a guitar that has a typical humbucker setup like a Les Paul or Gibson SG.
The Split Humbucker Modification
This modification will work on any brand guitar with any brand pickup, as long as it meets these three requirements:
1. The Guitar Works
The reason why we have so many articles about the split humbucker mod is that it’s common to approach the project as if you’re constructing all of the electronics, starting from scratch. This post is taking a different approach; it’s assuming that your guitar already works fine as it is, and you want to add the ability to split the humbucker. The guitar’s current wiring is not important for this modification, and we’re going to leave it the way it is.
2. You Have a Humbucker
The first requirement is a humbucker pickup with four wires. Almost all humbuckers have four wires plus one bare shield wire. Older guitars and rare guitars might only have two.
Any humbucker will work.
- Any standard size humbucker, such as the Dimarzio Super Distortion, Seymore Duncan Pearly Gates, and the EVH Frankenstein can use this mod.
- Any mini-humbuckers can use this mod. They can be side by side mini-humbuckers like the Seymour Duncan Hot Rails, or the Lace Mini Nitro. They can also be stacked humbuckers like the Seymour Duncan Classic Stack, or the Fender Gen 4.
3. You Have at Least One Volume or Tone Control
Most guitars have at least one volume control, so it’s an easy requirement to meet. If you have more than one humbucker you want to split, you will need more than one volume or tone.
Getting Started
If you meet these requirements, you’re ready to split your humbucker in just two steps.
Step 1: Converting to a Push-Pull Pot
Step one includes choosing one of the volume or tone controls to use as the switch that splits the pickup. It can be any volume or tone control, but we usually go with one of the tone controls. The reason we do this is that the volume control usually has a lot of things soldered to the metal casing, and the push-pull pot has a lot less room to solder on. Using the volume control is also more work.
Once we choose which pot to use, we need to convert to the push-pull.
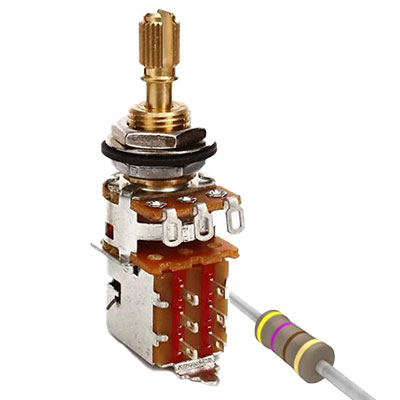
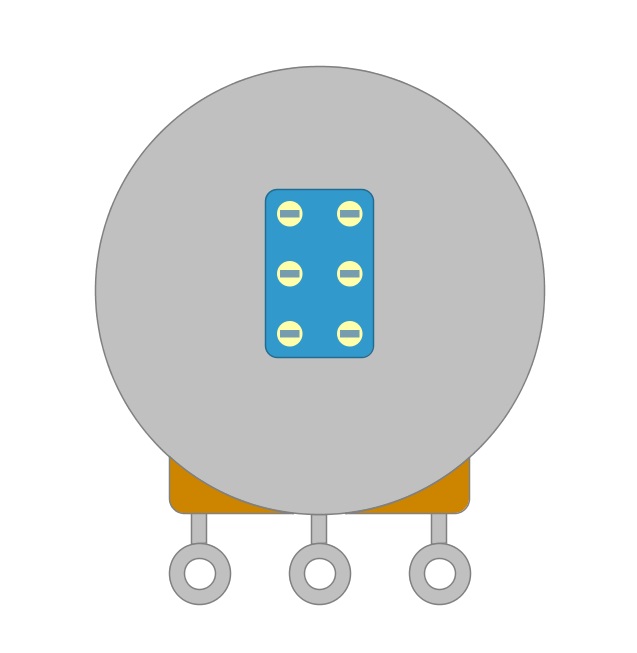
The standard pot
A standard pot looks like Figure 1
Fig 1
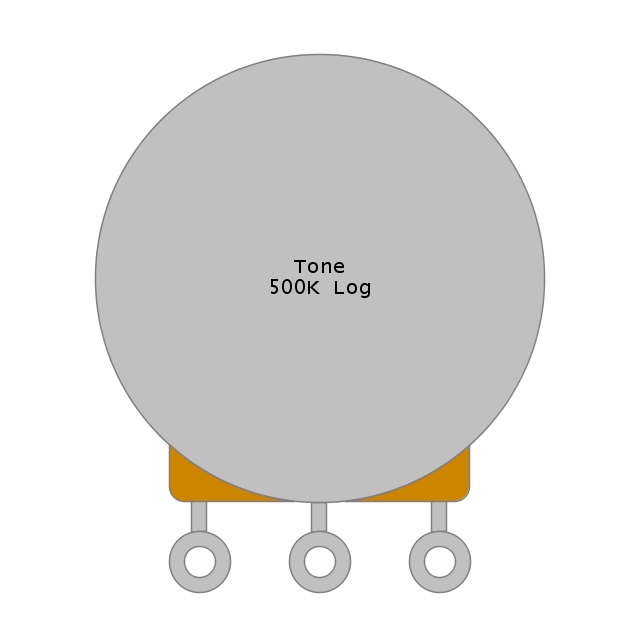
Below, we use the symbol shown in Figure 2 to represent that component in our wiring diagrams.
Fig 2
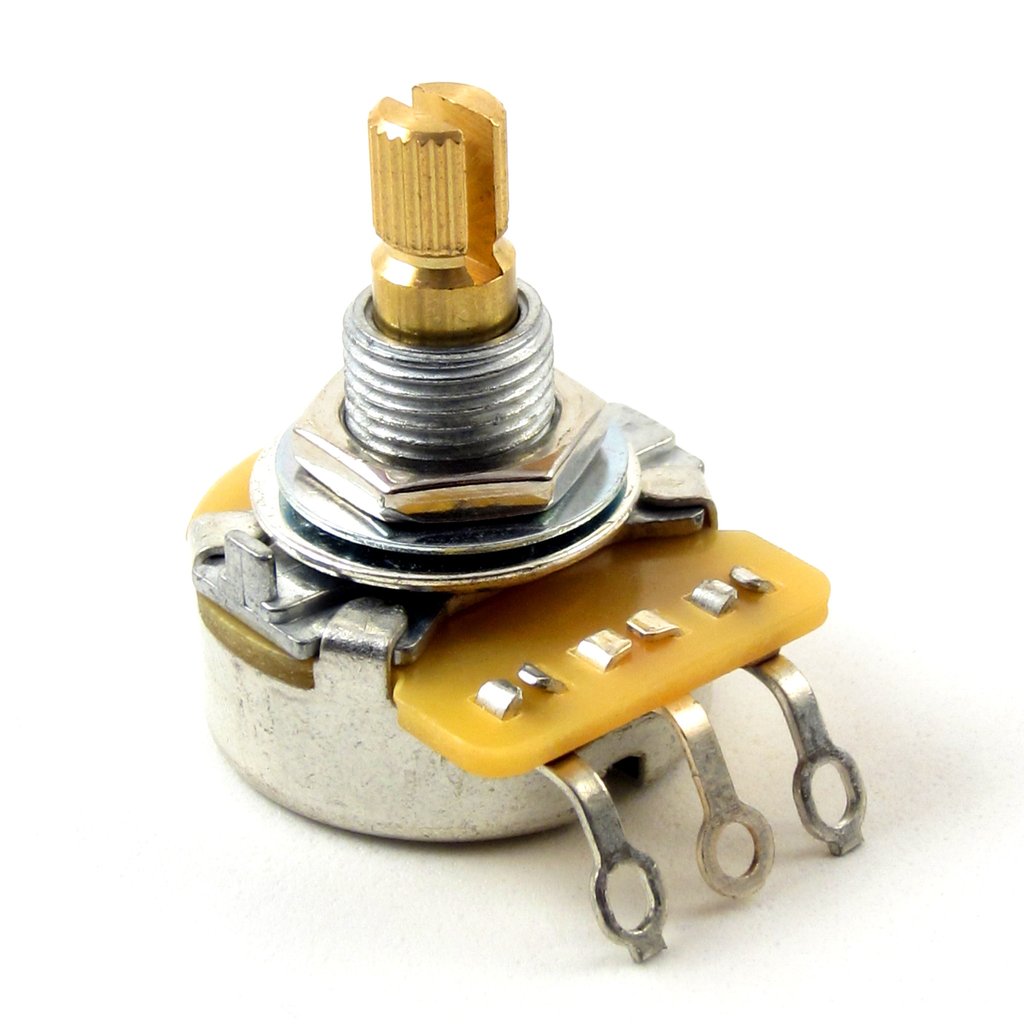
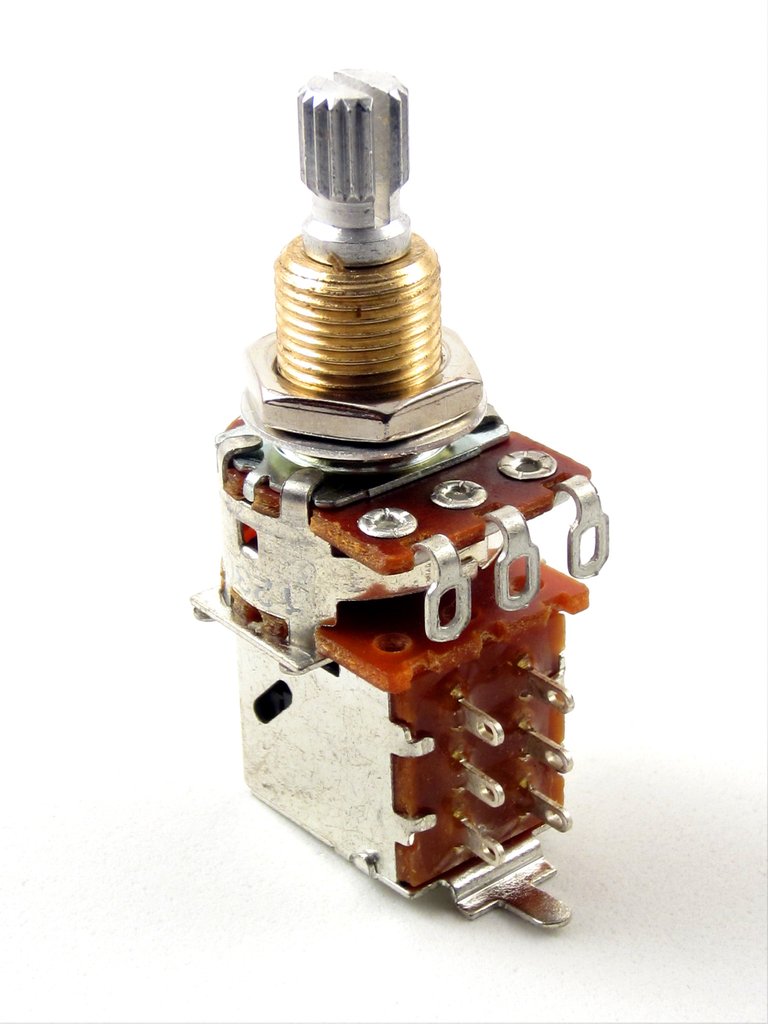
The push-pull pot
You can get a push-pull pot at Stewmac, Guitar Center, and most other guitar shops, and they are available in most values. Humbuckers usually use 500K pots, which should be easy to find.
Most push-pull pots will resemble the one in Figure 3.
Fig 3
See the symbol shown in Figure 4 to represent that component in our wiring diagrams.
Fig 4
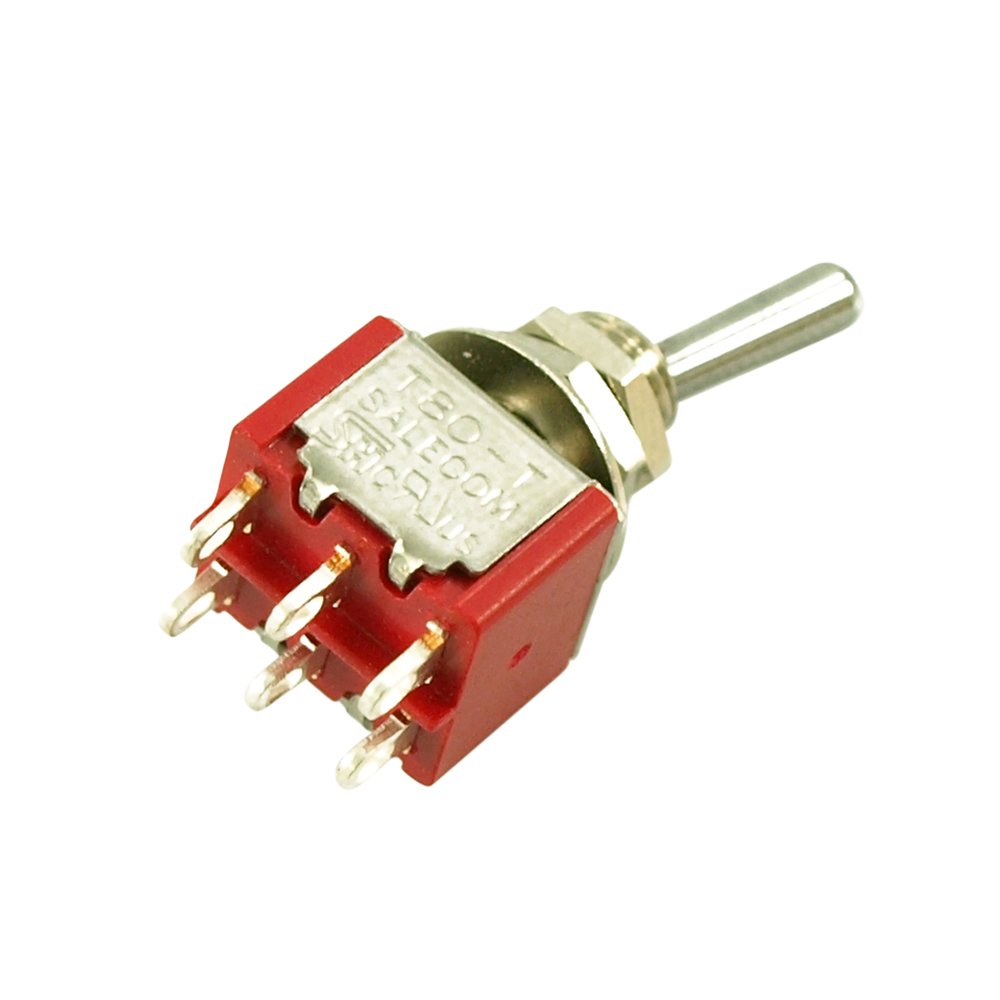
Hopefully, you can see the resemblance between the standard pots and the push-pull pots. The push-pull pots look like standard pots with a new section attached to the bottom. This added component is the switching mechanism. Take a look at the mini-toggle switch in Figure 5 and notice the resemblance to the bottom section of a push-pull pot. You can substitute a mini-toggle switch for a push-pull.
Fig 5
A downside to using a push-pull pot is the extra space they take up, and they may not fit in some guitars.
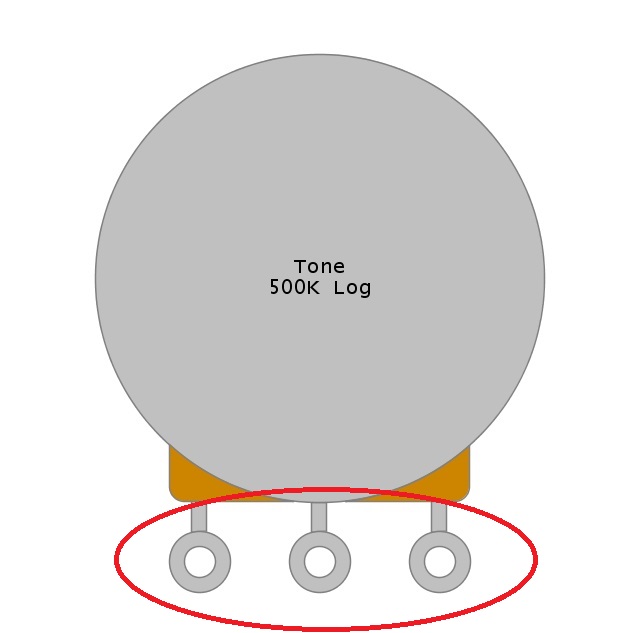
Take a picture or make a drawing of the tone control before you remove it. Make a note of anything soldered to each of the three tabs shown in Figure 6. Also, make a note of anything soldered to the metal casing.
Fig 6
- Remove the connections and uninstall the pot.
- Install the push-pull pot in its place.
- Solder any wires initially soldered to the case, to the case of the push-pull pot.
- Solder the wires that were attached to the tree tabs to the three tabs of the push-pull pot circled in Figure 7.
Fig 7

If everything went correctly, the guitar should work like normal. The tone should also function normally, and pulling out or pushing in the shaft will have no effect.
Step 2: Coil Split the Pickup
So far, we haven’t made any changes to the guitar outside replacing the standard tone pot with a push-pull pot. Now we’re going to split the pickup.
Locate the wires coming from the pickup you want to split. One wire will usually go to the back of one of the pots, and one will probably go to the switch. There are two wires connected. They are the ones we need.
Solder those two wires to the extra part of the push-pull pot, as shown in Figure 8. Solder the ground wire to the back of the volume pot.
Fig 8

Once you have completed this step, your split humbucker modification is complete. With the tone control pushed in, the switch is off. The guitar operates the way it always has. With the tone control pulled out, the switch is on, and the ground wire we installed shorts out the second coil of the pickup, leaving only one coil producing sound. We have split the pickup by shorting out one of the coils.
If the modification is working the opposite way and it splits the pickup with the tone control pushed in, solder the pickup wires to the top tab of the push-pull instead of the bottom.
Push-pull pots can come with all kinds of switches attached to them. The one we used in this example is a DPDT switch, and it has the six tabs we see in the images. We only need the two tabs, though, so as long as your push-pull pot has two, you will be fine.
Conclusion
As you can see, most of the variables don’t matter; it’s just a switch between the two connected wires from your humbucker and ground. Repeat the process for as many humbuckers as you have.
Hopefully, we have cleared things up a little and shown you how you can coil split any humbucker on any guitar to get a single coil sound. If you’ve found this helpful, feel free to share this article on Facebook and Twitter. Always send in your questions. We enjoy answering them. For more articles on guitar electronics, visit humbuckersoup.com.