By Ed Malaker
Posted 07/07/2020
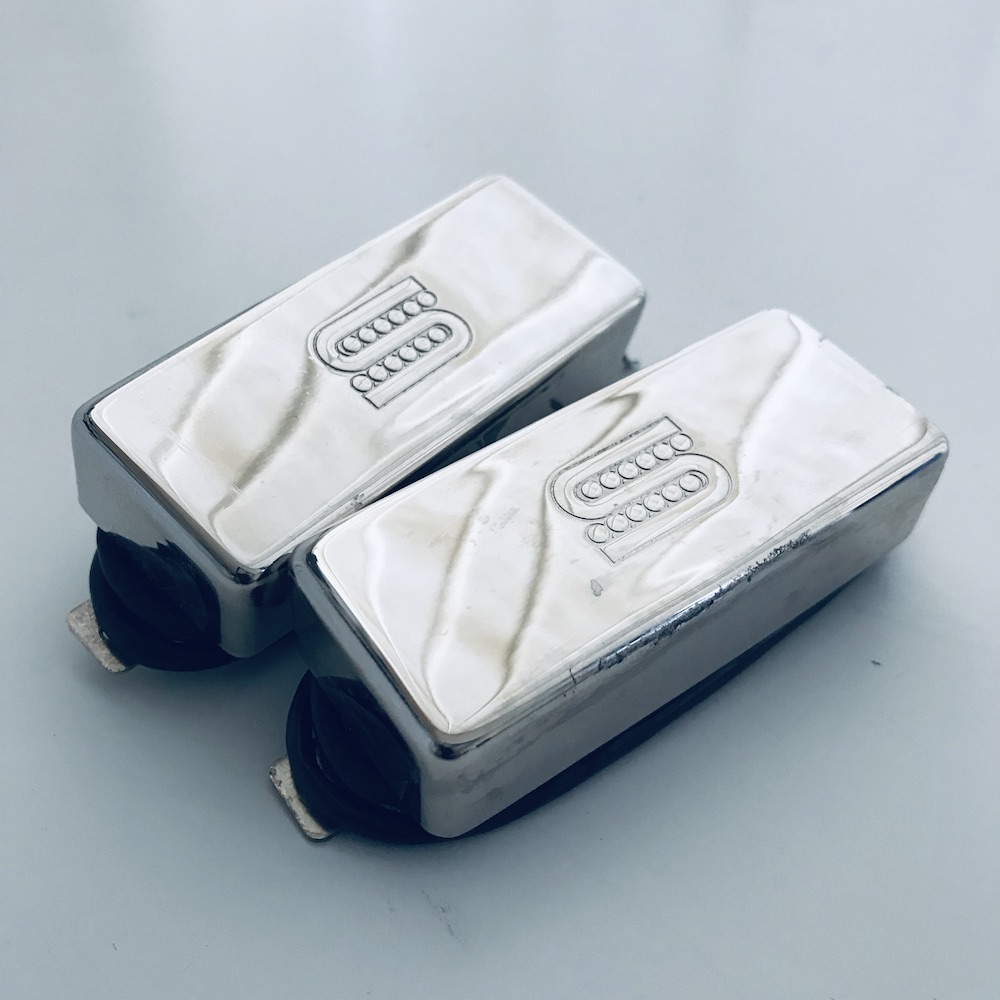
Let’s talk about how to coil-split a Seymour Duncan SM2. The Seymour Duncan SM2 is a mini-humbucker, and as with most humbuckers, you can perform a simple modification that shuts off one of the coils, resulting in a tone close to a single-coil pickup. You can engage or disengage this modification using a switch.
In this guide, we’ll discuss the tools you need and supply you with step-by-step instructions to complete the wiring.
Tools Required
You only need a few tools to perform this modification on your guitar.
- Soldering iron
- Solder
- Phillips screwdriver
- Pliers
Wiring Code
Even though we assume you have the Seymour Duncan SM2 pickup installed already, we would like to go over the wiring code for anyone who needs to install it. The wiring code refers to the four colored wires and one bare wire found on many humbucker pickups.
If your humbucker pickup does not have the four colored wires, then you cannot split the pickup. To install a humbucker pickup, you need to find the Hot wire and the Ground. The Hot wire goes to the switch or the volume pot, and the Ground goes to the back of the volume pot.
Each manufacturer uses different colored wires, and it can be challenging to figure out which wires are which. In this case, we have the wiring code on hand.
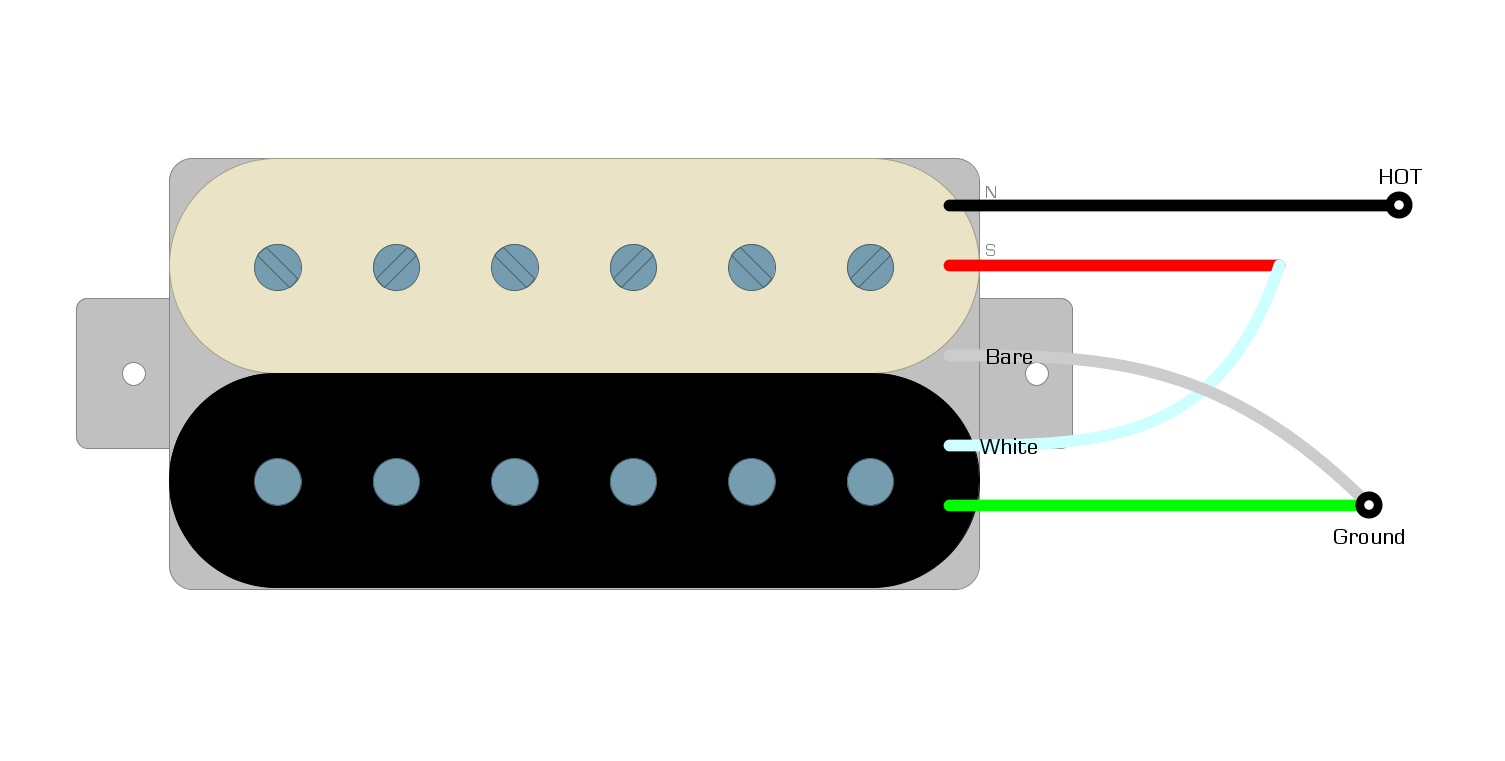
Seymour Duncan SM2 Wiring Code
- Black = Hot
- White and Red = Tied together
- Green and Bare = Tied together; Ground
We have demonstrated this wiring code for you in Example 1.
Example 1
Push-Pull Pot
To split the pickup, you are going to need a switch. We recommend using a push-pull pot as the switch to engage and disengage the modification, but the mini-toggle switch is another very popular way to go. The only downside to using the push-pull pot is that there might not be enough room in the control cavity to fit the larger device. If that is the case in your guitar, you will need to find a way to install a mini-toggle switch.
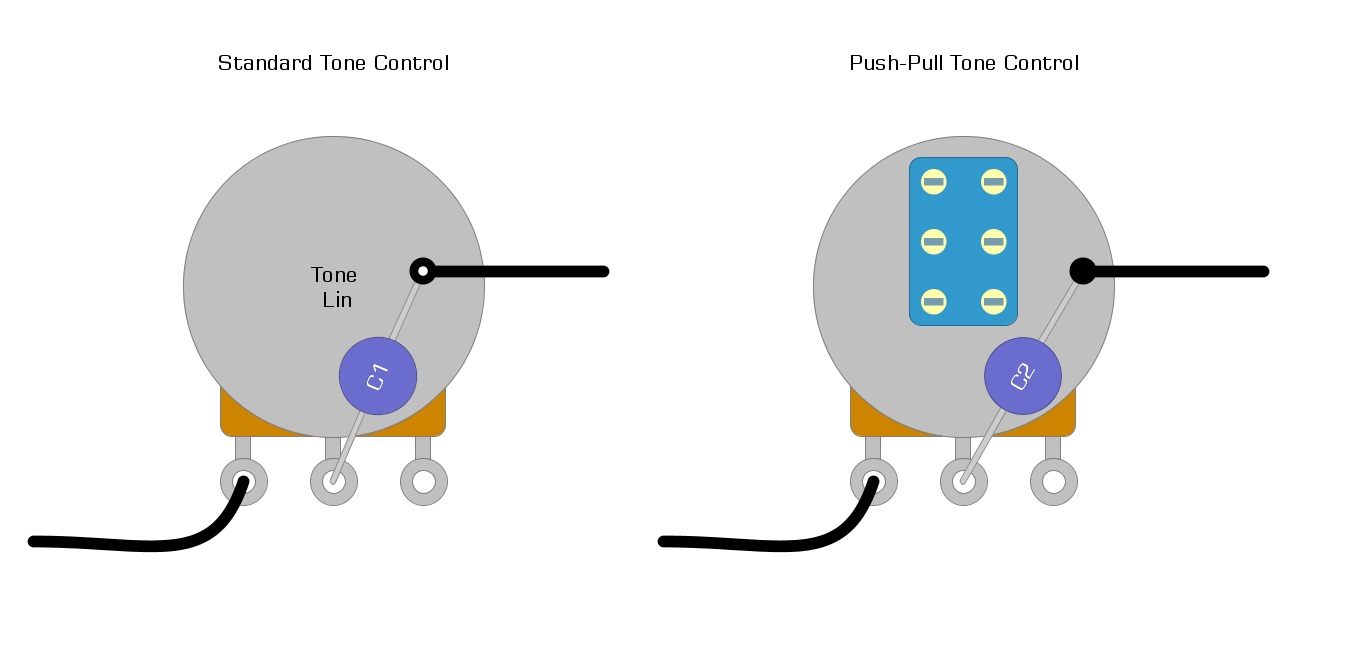
You can replace your volume control or your tone control with the push-pull pot, but we recommend replacing the tone control because there are fewer wires attached to it. Example 2 shows your tone control might look like before and after you install the push-pull pot.
Example 2
Splitting the Pickup
Once you have the push-pull pot installed, you have done most of the work. All you need to do now is attach the red and white wires from the Seymour Duncan SM2 to the switch of the push-pull pot. Then add a ground wire from the switch of the push-pull pot to the back of the tone control, as in Example 3.
Example 3

Summary
Adding a coil-splitting modification to your guitar isn’t hard and it can be accomplished in a few minutes. The hardest part is choosing between the push-pull pot or the mini-toggle switch. We recommend the push-pull switch because the modification is completely reversible.
We hope that our steps to the Seymour Duncan SM2 coil-splitting modification have been helpful, and that you are comfortable completing them on your own. Once you get this modification down, there are plenty of other fantastic modifications that you can complete.
If you have enjoyed following this guide and found it helpful, please feel free to share it on Facebook and Twitter. For more articles on guitar electronics, visit humbuckersoup.com.